How I store my dotfiles
December 8th, 2021

There are lots of different ways to do this. I have come across a number of different methods, but I have settled on a git bare repository for the time being (found this method while browsing Hacker News). I currently feel no need to redo my dotfiles using GNU stow or any other method, though some day I may try and see if it is indeed any better…
I will walk through step by step how to set this up, but I am going to assume that you have some relatively basic knowlegde of the GNU/Linux ecosytem so that I don’t have to go too deep into too much in this write up.
Setup the alias
First we need to decide what to name the command that is going to be our fancy git alias for our dotfiles/configs. I chose .files, but you can chose just about anything. I recommend that
whatever you decide on not have spaces so that the aliasing is more straight forward. Now that the special name is decided upon, we are going to head over to our ~/.bashrc file… Well, it
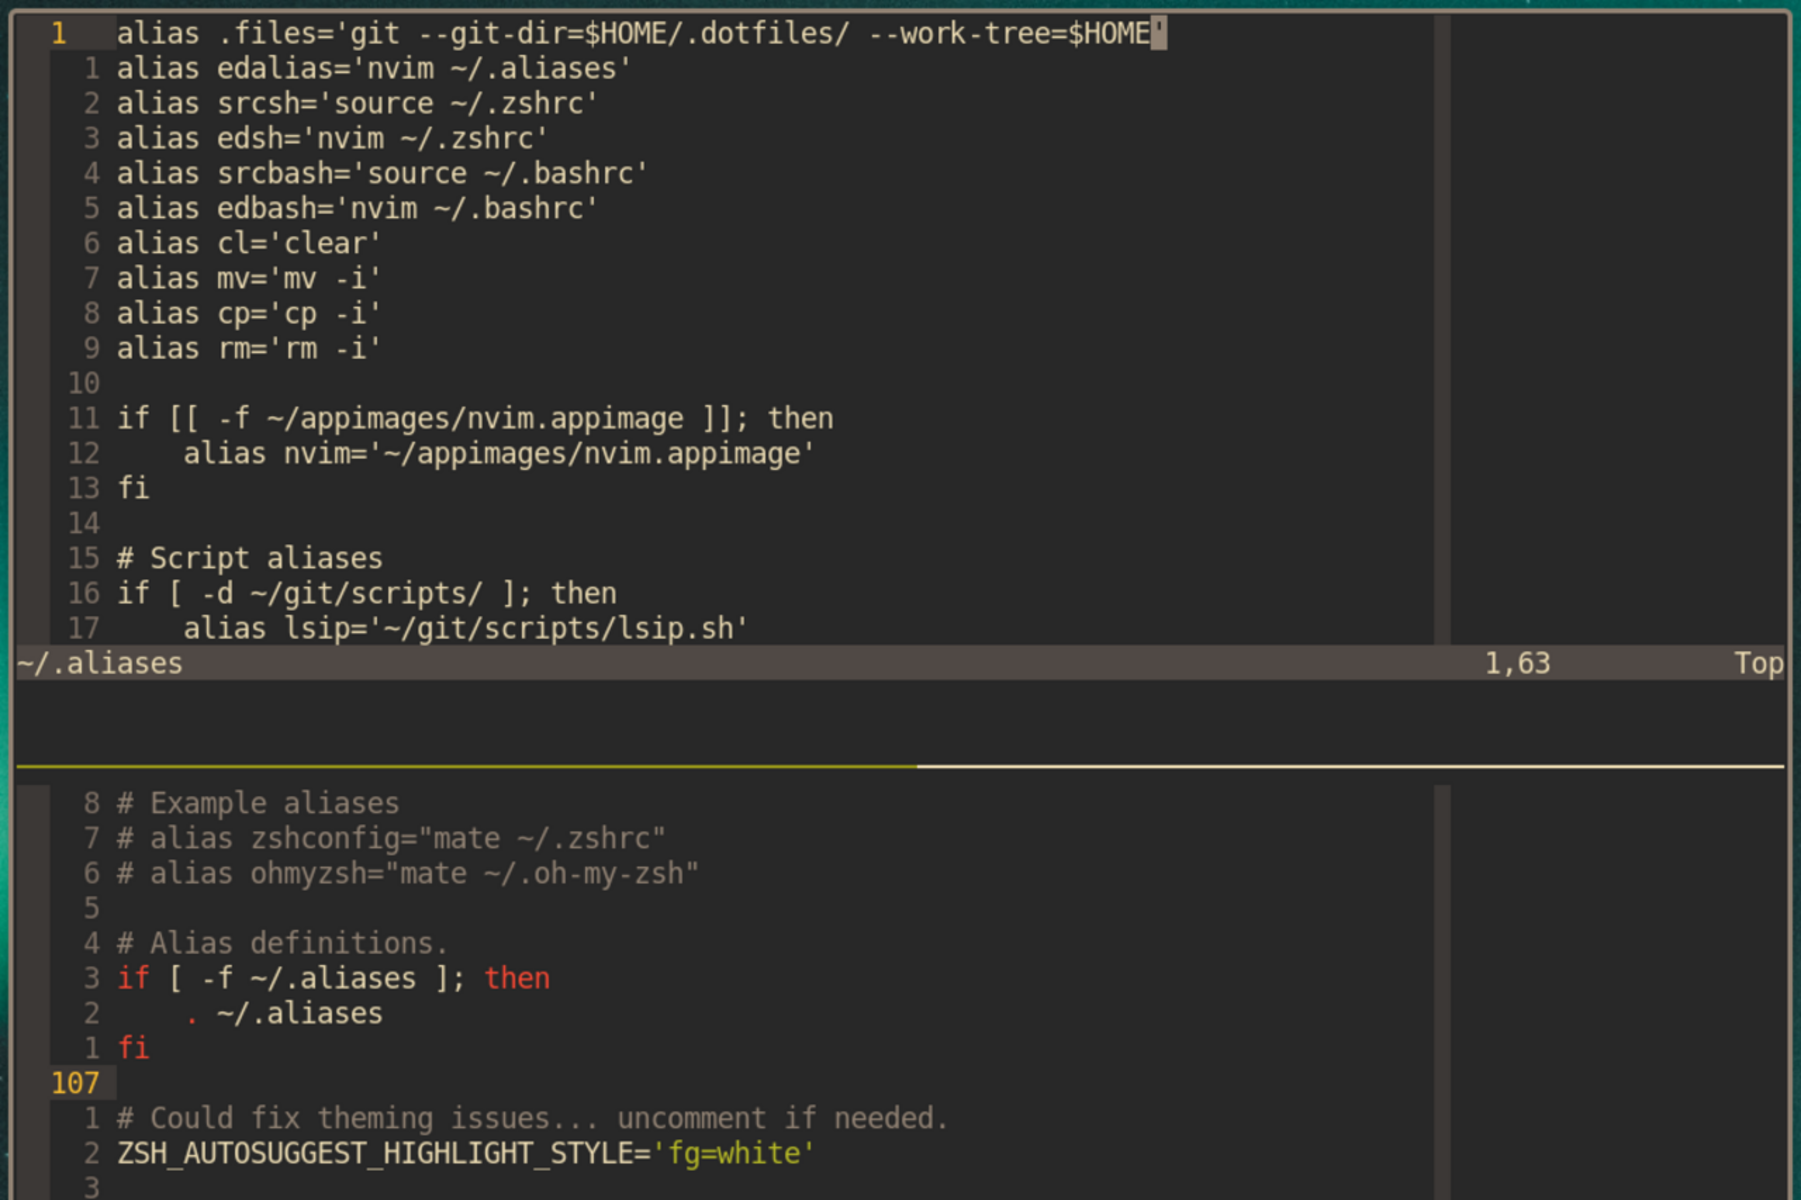
depends on how you are using your computer. I actually use zsh so I should be using ~/.zshrc, but I also have enough aliases to split things up and put all of my aliases in ~/.aliases and include that in my ~/.zshrc using this neat snippet:
# Alias definitions.
if [ -f ~/.aliases ]; then
    . ~/.aliases
fi
Anywho, now we can create that .aliases file and add the following to it:
alias .files='git --git-dir=$HOME/.dotfiles/ --work-tree=$HOME'
Create the repository and clone it bare!
Now here comes the fun part. Create a new repository on your remote of choice (I will be using GitLab) and name it dotfiles. You can
really name it whatever you want, but I will be using dotfiles for this tutorial.
Now run the following commands to get the empty repository you just created cloned and ready to use on your machine:
git clone --separate-git-dir=$HOME/.dotfiles git@gitlab.com:wilsonjholmes/dotfiles.git dotfiles-tmp
rsync --recursive --verbose --exclude '.git' dotfiles-tmp/ $HOME/
rm --recursive dotfiles-tmp
git --git-dir=$HOME/.dotfiles/ --work-tree=$HOME config status.showUntrackedFiles no
git --git-dir=$HOME/.dotfiles/ --work-tree=$HOME remote set-url origin git@gitlab.com:wilsonjholmes/dotfiles.git
Be sure to replace the git@gitlab.com:wilsonjholmes/dotfiles.git with the link to your repository. Please note that you will need to have ssh keys set up for this to work. See
How to setup ssh keys for GitHub or GitLab if you need help with this.
Lets test our setup
Now we are all set up and ready to add some dotfiles to out bare repository. Go ahead and add your ~/.bashrc (or ~/.zshrc) using our new alias:
.files add ~/.bashrc
Now we can check our status and make sure that the file has been added alright:
.files status
If everything looks good, we can commit and push our changes:
.files commit -m "added .bashrc"
.files push
Aaand we have our first commit!
Done! Knock yourself out adding configs
Check the repo out on the web so make sure that everything worked correctly, but we should be all good now. We can now add, commit, push and pull changes to our dotfiles. This means that we can “sync”
our configs across all of our devices using git.
Now if you want to have your dotfiles added to a new device, you just have to run the commands from commands from earlier.