How to install Pop!_OS 20.04
December 9th, 2021
Welcome!
Hopefully this guide will help you start-to-finish install desktop Linux (specifically Pop!_OS in this article). I am making this guide as I am graduating undergrad soon and will be leaving behind a lot of code (ROS gazebo simulations for our robot) that will only run on Linux, err… Ubuntu specifically, and I want to make sure that new people that come by to continue my capstone project work are able to get the simulations working even if they are new to Linux.
I personally am using Pop!_OS in this guide as, at the time of writing, it is my OS of choice for the creature comforts it provides for keyboard-driven-workflow nerds (guilty as charged), but installing regular Ubuntu 20.04 (Which is what Pop!_OS is based off of) would also work perfectly file, though you would be on your own to figure out how to install NVIDIA GPU drivers if you went that route.
With that out of the way, lets get installing!
Step 0: What you will need
- A computer with either Intel integrated graphics or, preferably, a dedicated NVIDIA GPU (more explanation on that later).
- A USB drive that is at least 8GB (!!This drive’s data will be overwritten in the flashing process, so make sure to back it up if it has stuff on it!!)
- Another drive to actually install Linux to (could be another USB drive if it is pretty fast).
- Time, the biggest time sink in this whole process will probably be downloads and updates, so not too bad. Maybe 30 minutes in total if you are speedy?
Step 1: Get the “.iso” and flash it to a USB drive
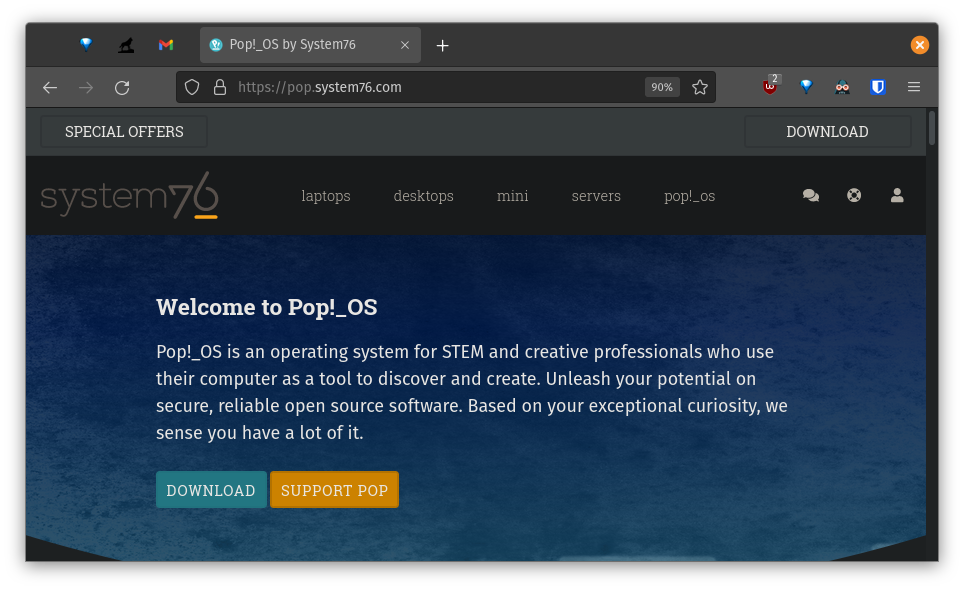
First head on over to pop.system76.com and download your Pop!_OS .iso file1.
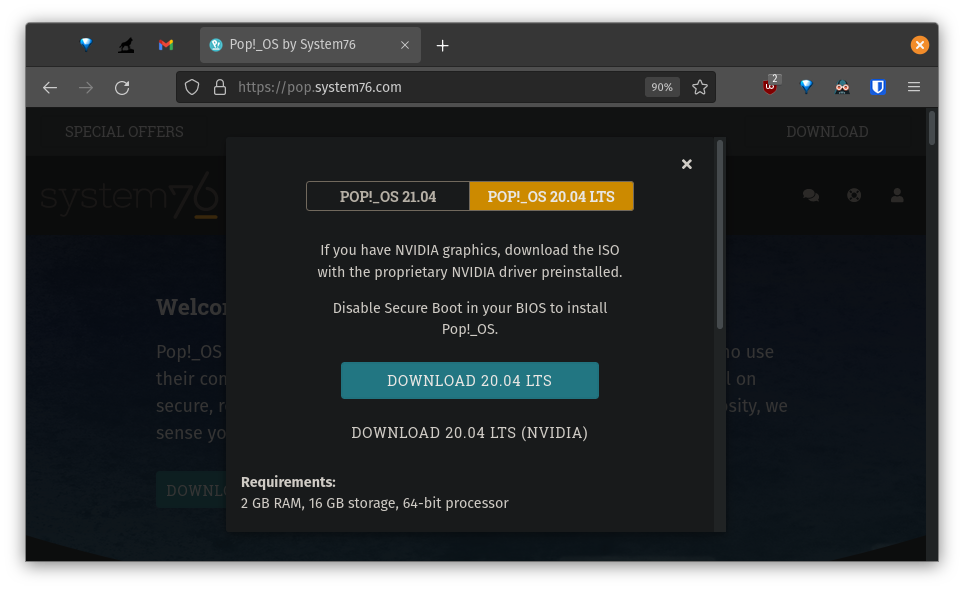
When you click “DOWNLOAD” there will be a few options. You need to select the “20.04 LTS” (Long Term Support) option2. Unfortunately I have not had time to get our robot simulations working on AMD GPUs, but I think they could work with some effort3. If you have an NVIDIA GPU then select that option, if you do not have a dedicated GPU, then chose the non-NVIDIA option. The simulations run best on dedicated NVIDIA hardware, but work okay on my laptop’s Intel Xe integrated graphics.
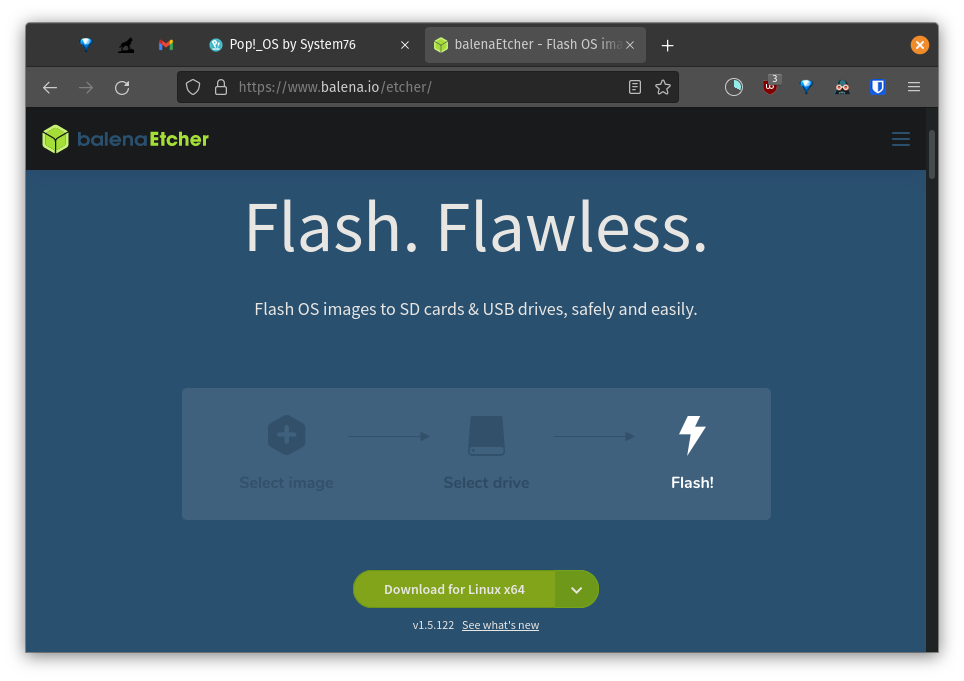
While that is downloading, lets head over to etcher.io and get “balenaEtcher”. Etcher is able to copy the .iso disk image file we are downloading to a USB drive. By doing this we will be able to boot the computer off of the USB drive and use it as an installer.
Once Etcher is downloaded run is an you should come to the following screen.
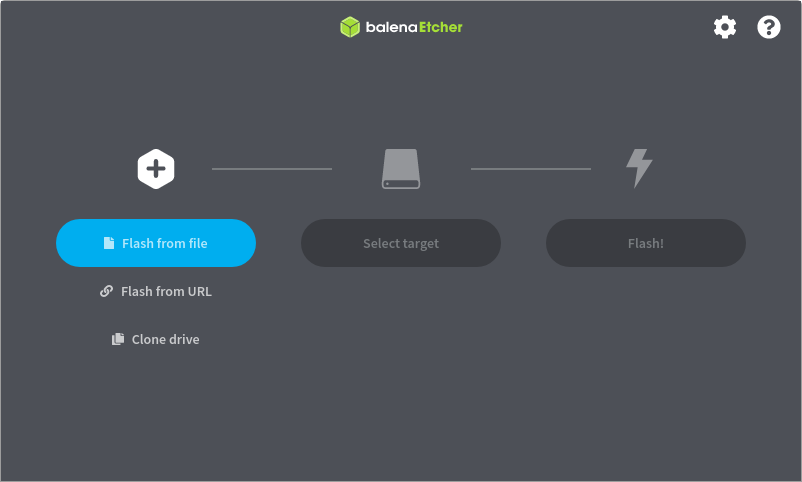
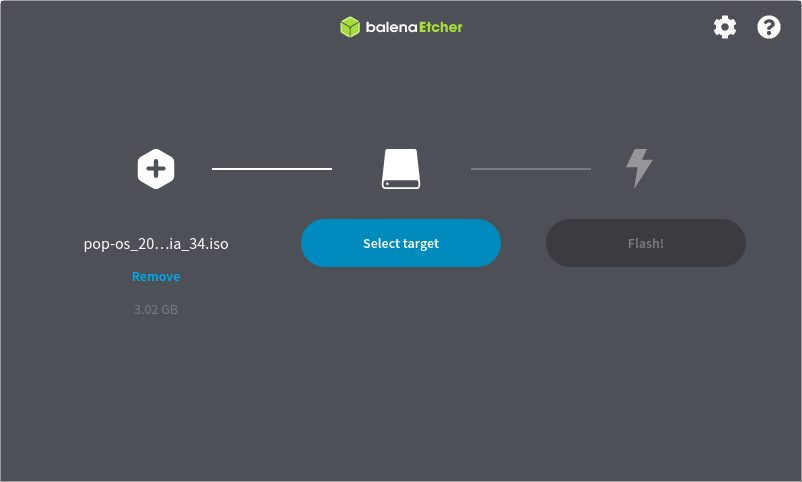
Now, all we have to do is wait for the .iso to finish downloading and then we can select “Flash from file” in Etcher and choose our newly downloaded disk image.
This next part is very important, you will click “Select target” as seen below.
Triple, I mean, quadruple check that the target device is your USB drive as Etcher will overwrite whatever is on the target device that you select.
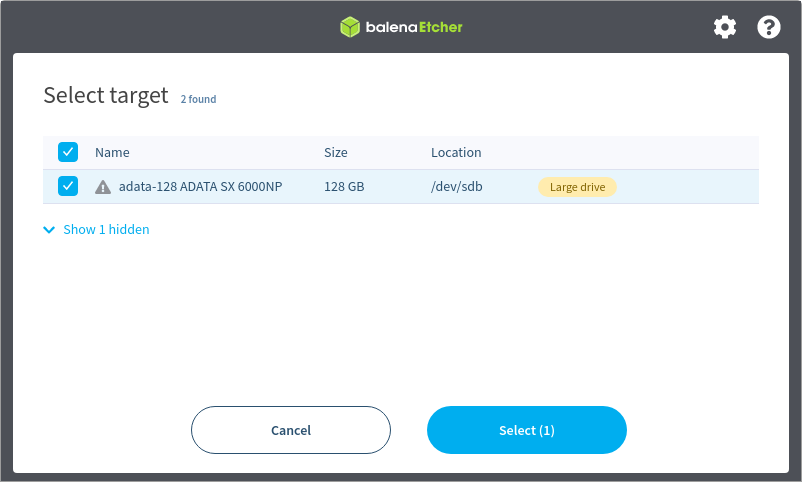
Now that you have carefully selected your USB drive as the target, you can click “Flash!”
Once it is done flashing it will look like this:

Now we are getting to the fun part. Lets move onto step 2.
Step 2: Get to your BIOS and boot from the USB drive
Now that we have a boot-able USB drive with Linux on it, we have to get our computer to start up using it as the main drive. To do this we will have to restart our computer and boot into the BIOS4.
To do this you will have to repeatedly press a key on your keyboard while your computer is starting. This key will
depend what computer you have, but
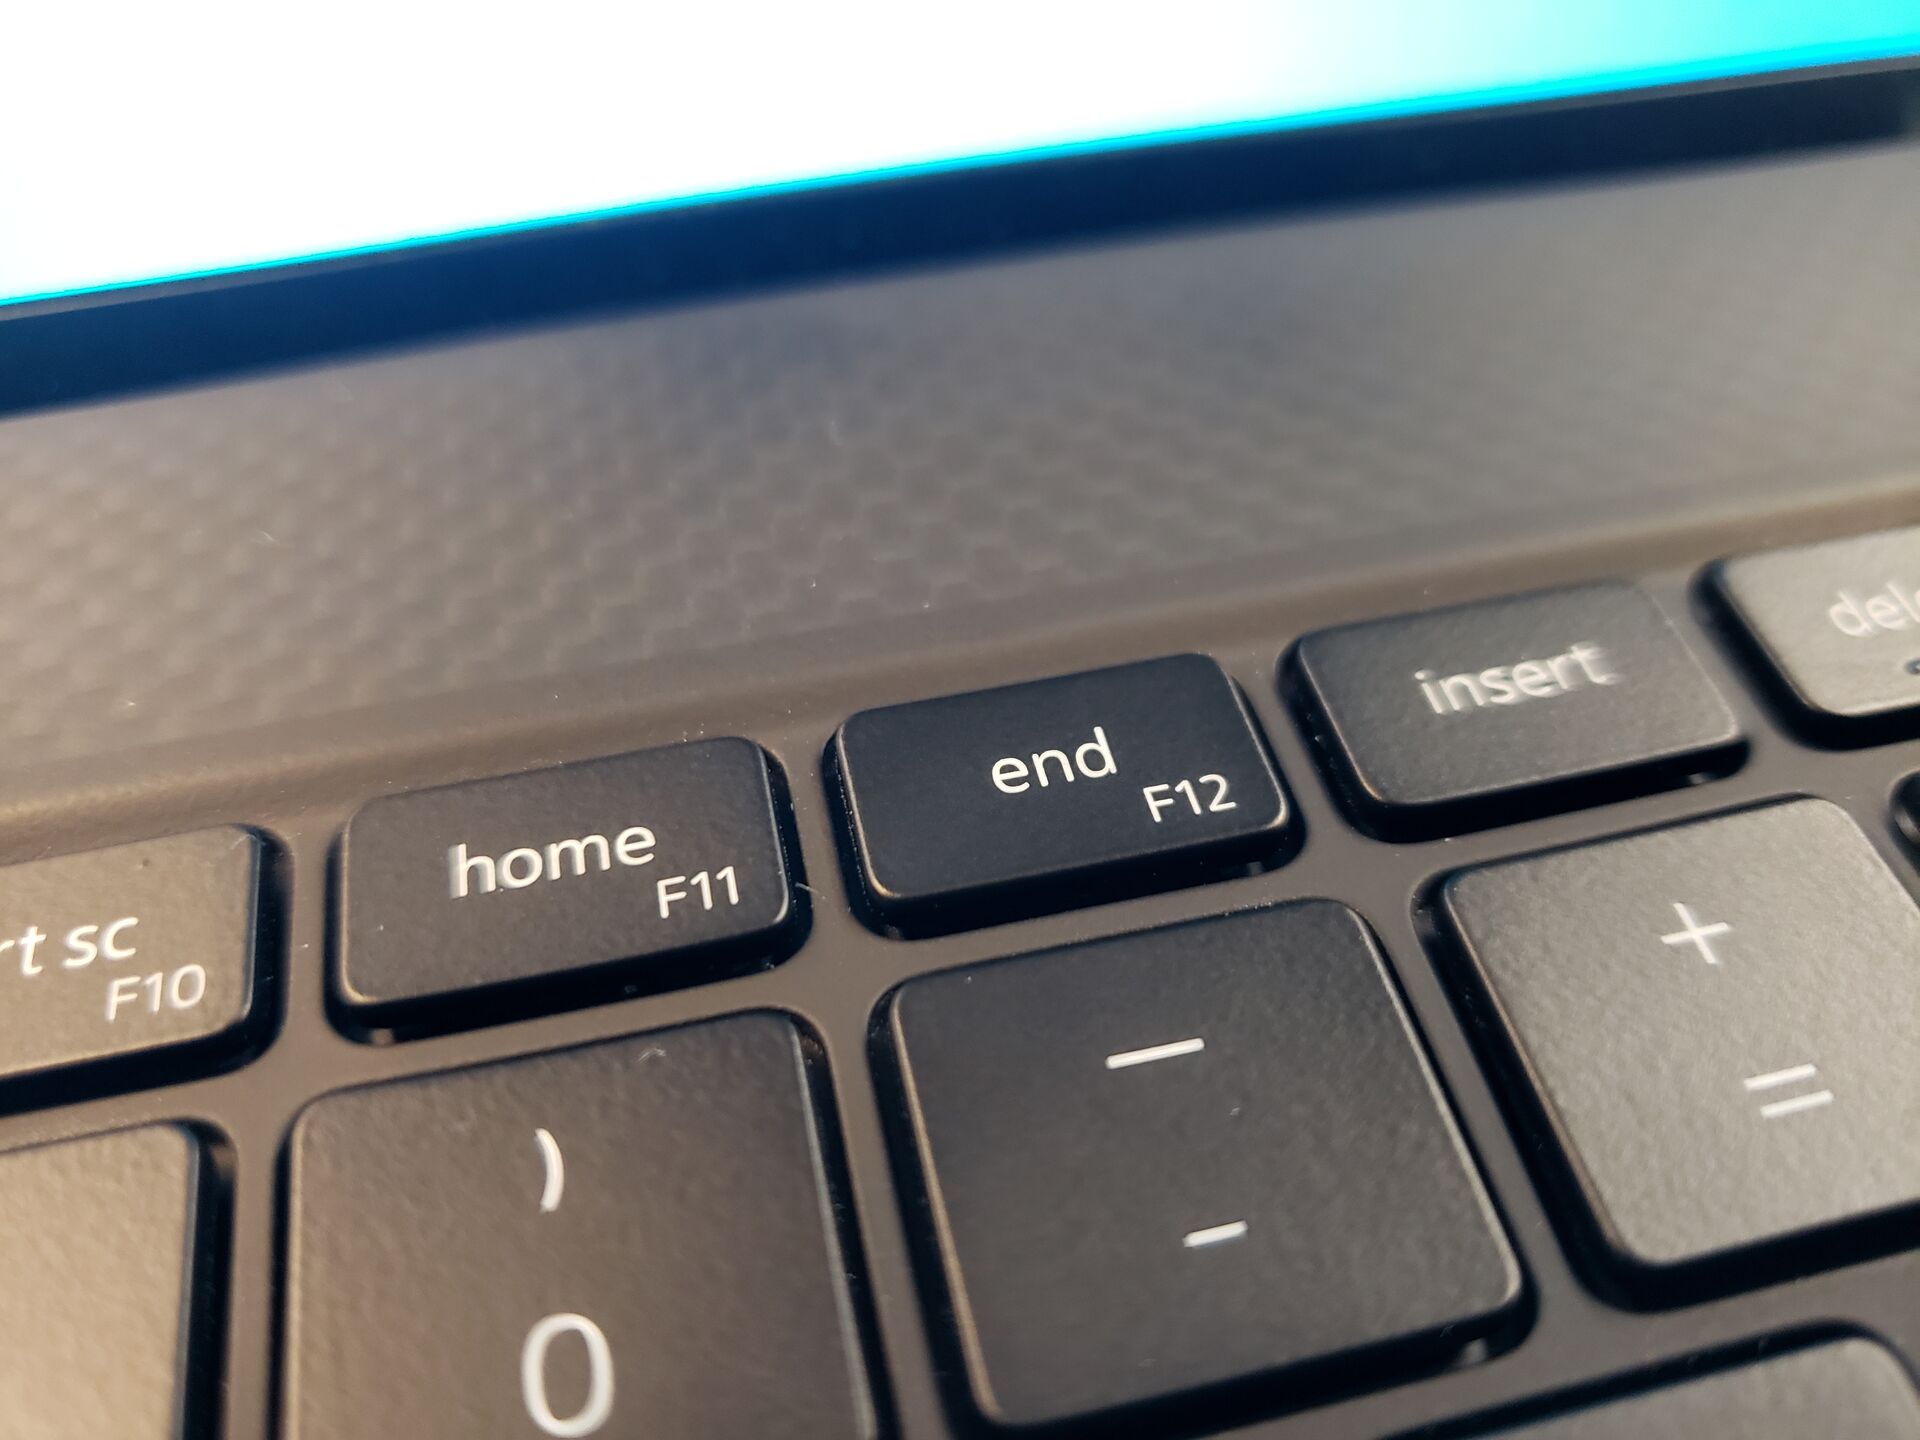
Once you get to your BIOS it will probably look different from mine (unless you have a Dell XPS 17 9710) but once there you will need to find wherever the boot options are located.
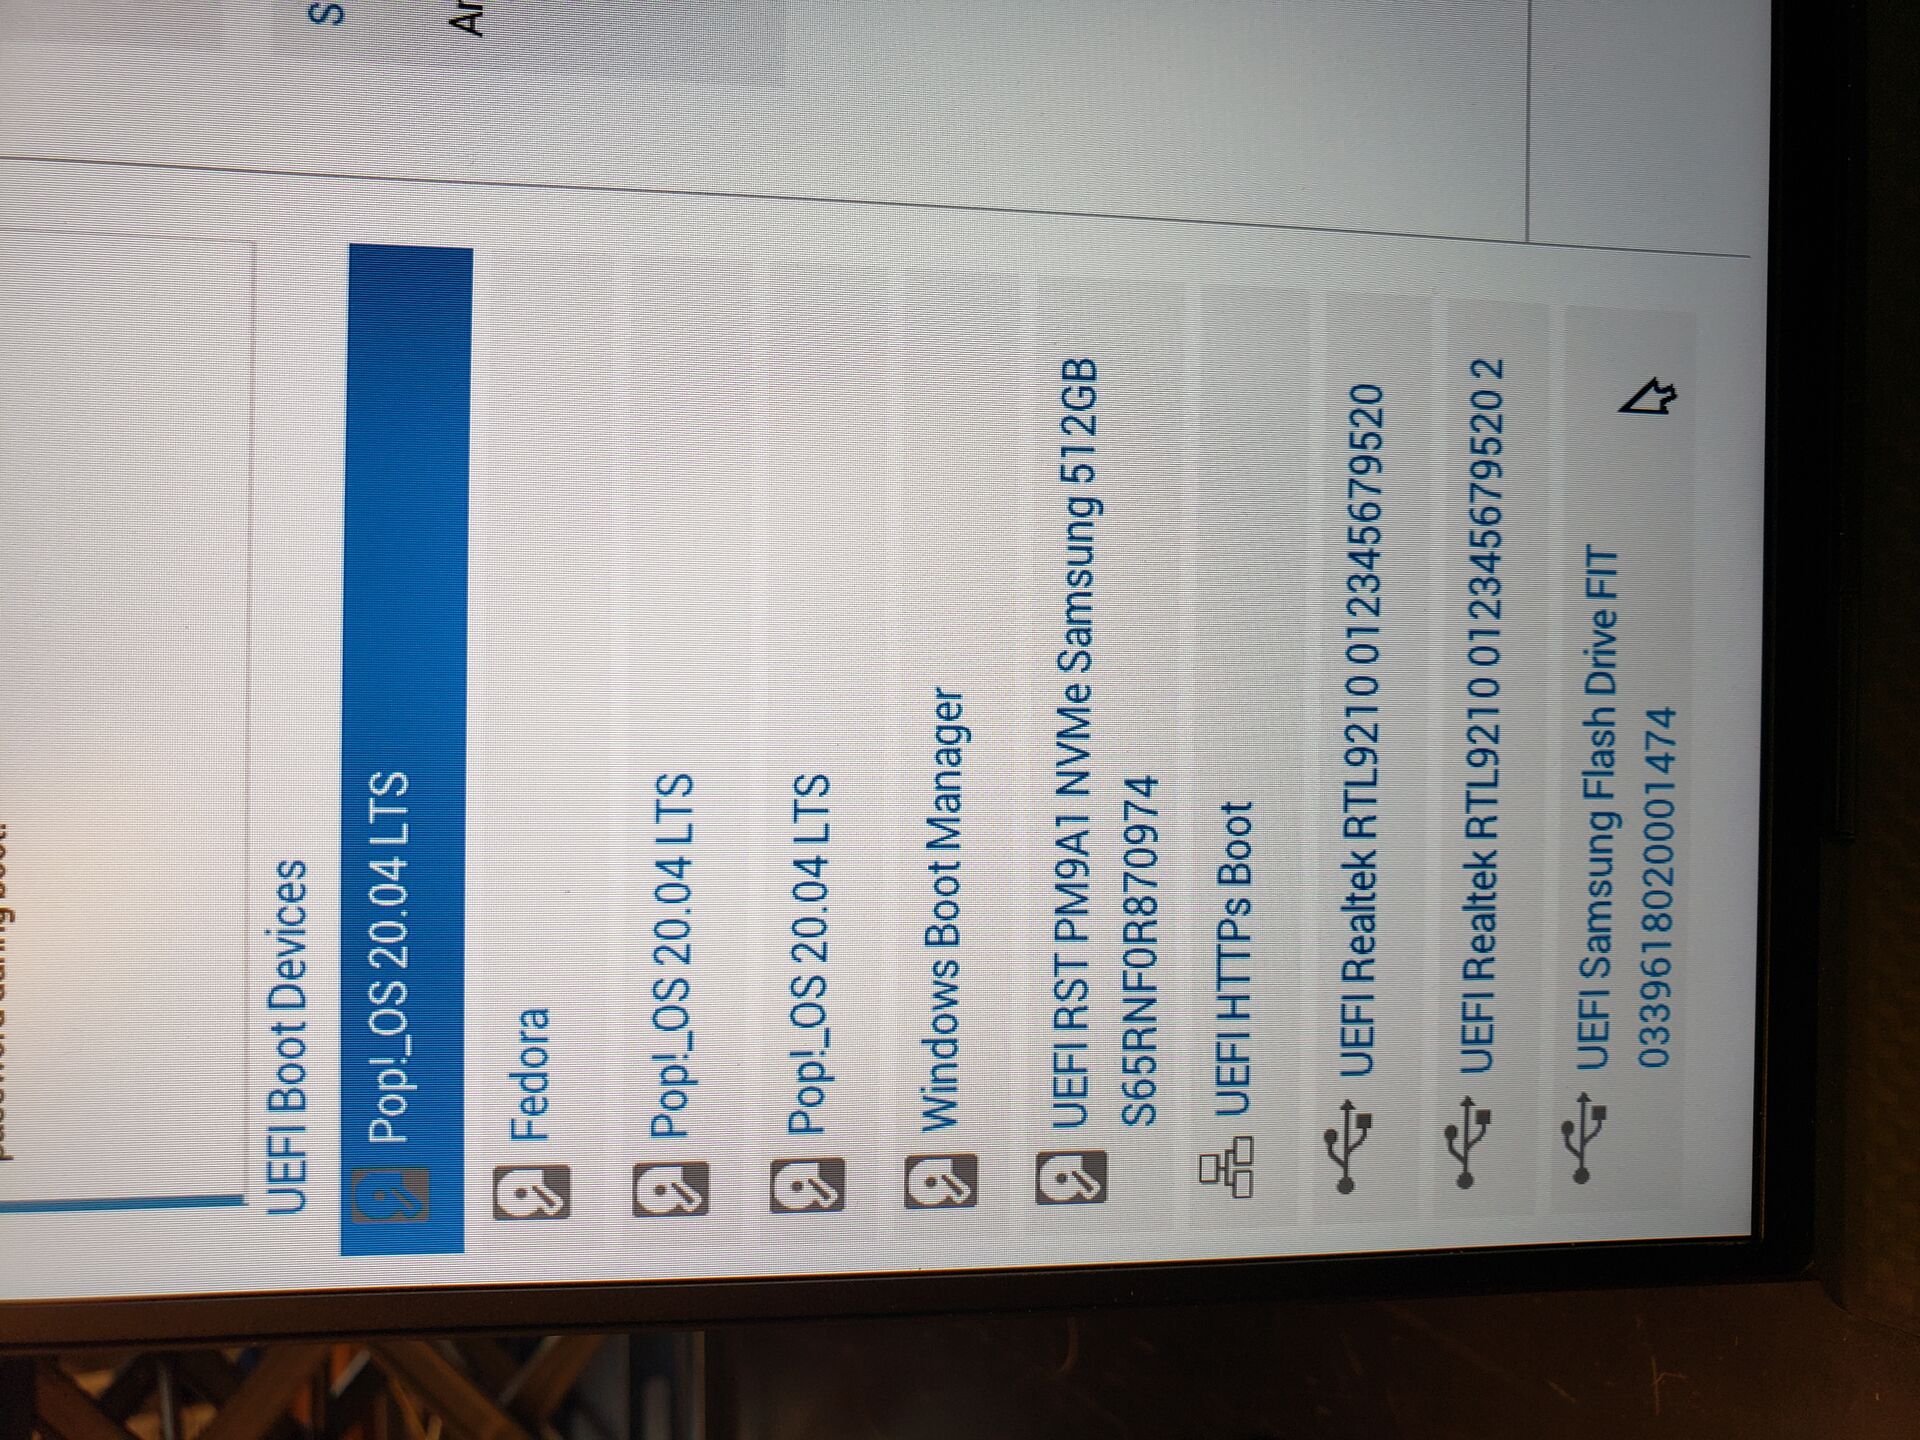
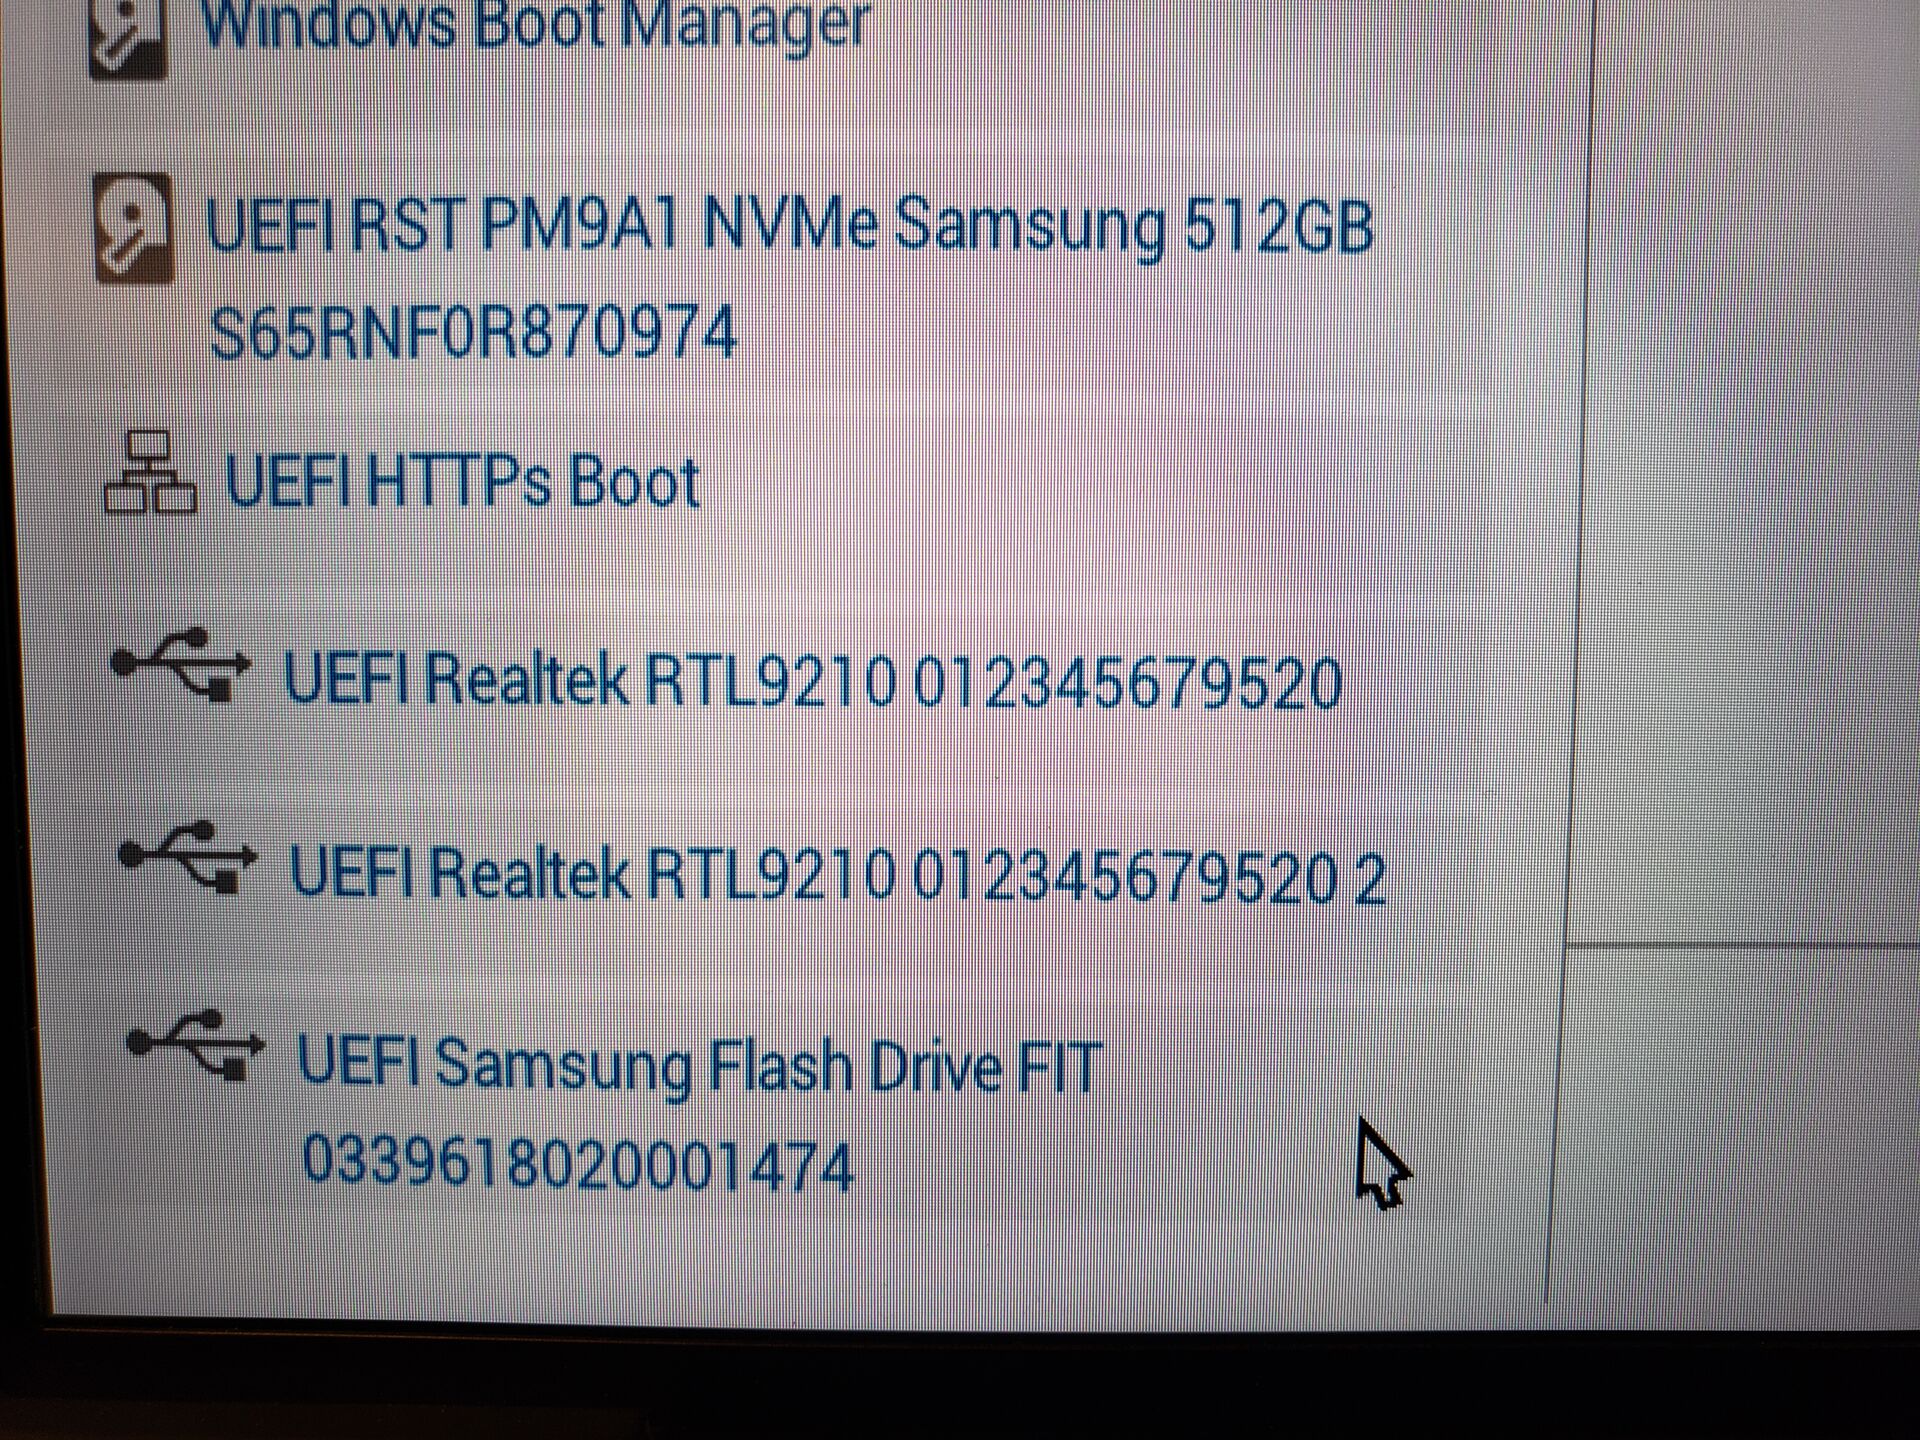
Once you have found this, you will choose the USB drive that you flashed with the .iso file.
Again, depending on how your computer’s bios is laid out, you will either just click on the correct device, or select it some other way then reboot.
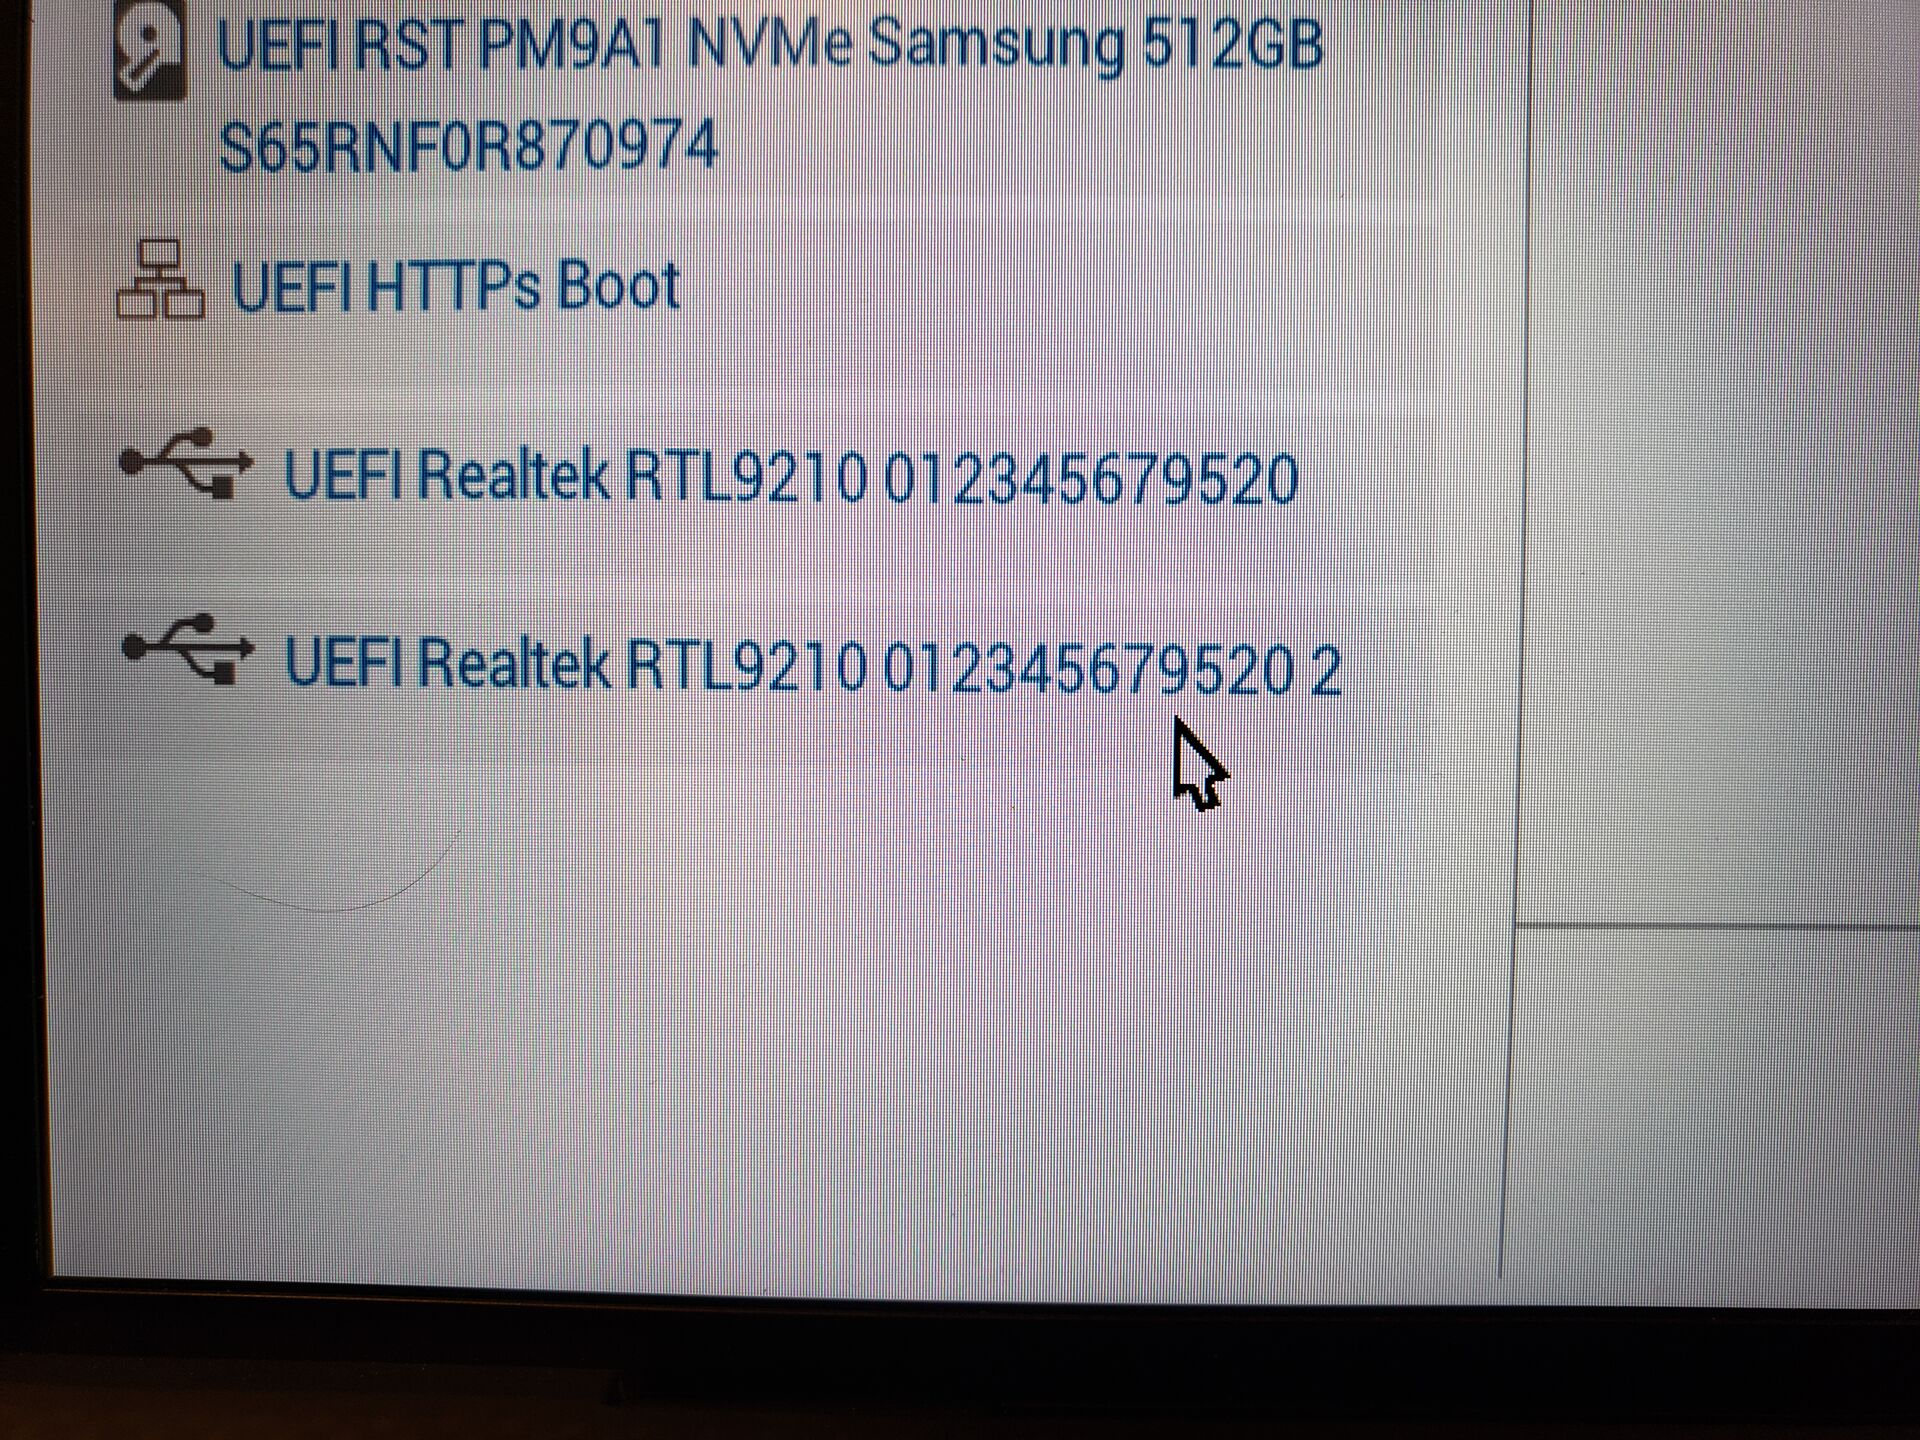
(I selected the “2” of the otherwise duplicate options there. I am not entirely sure why, but this has given me better luck whenever I have selected it this way. I suspect it has something to do with the partitions created when the image is flashed to the USB drive.)
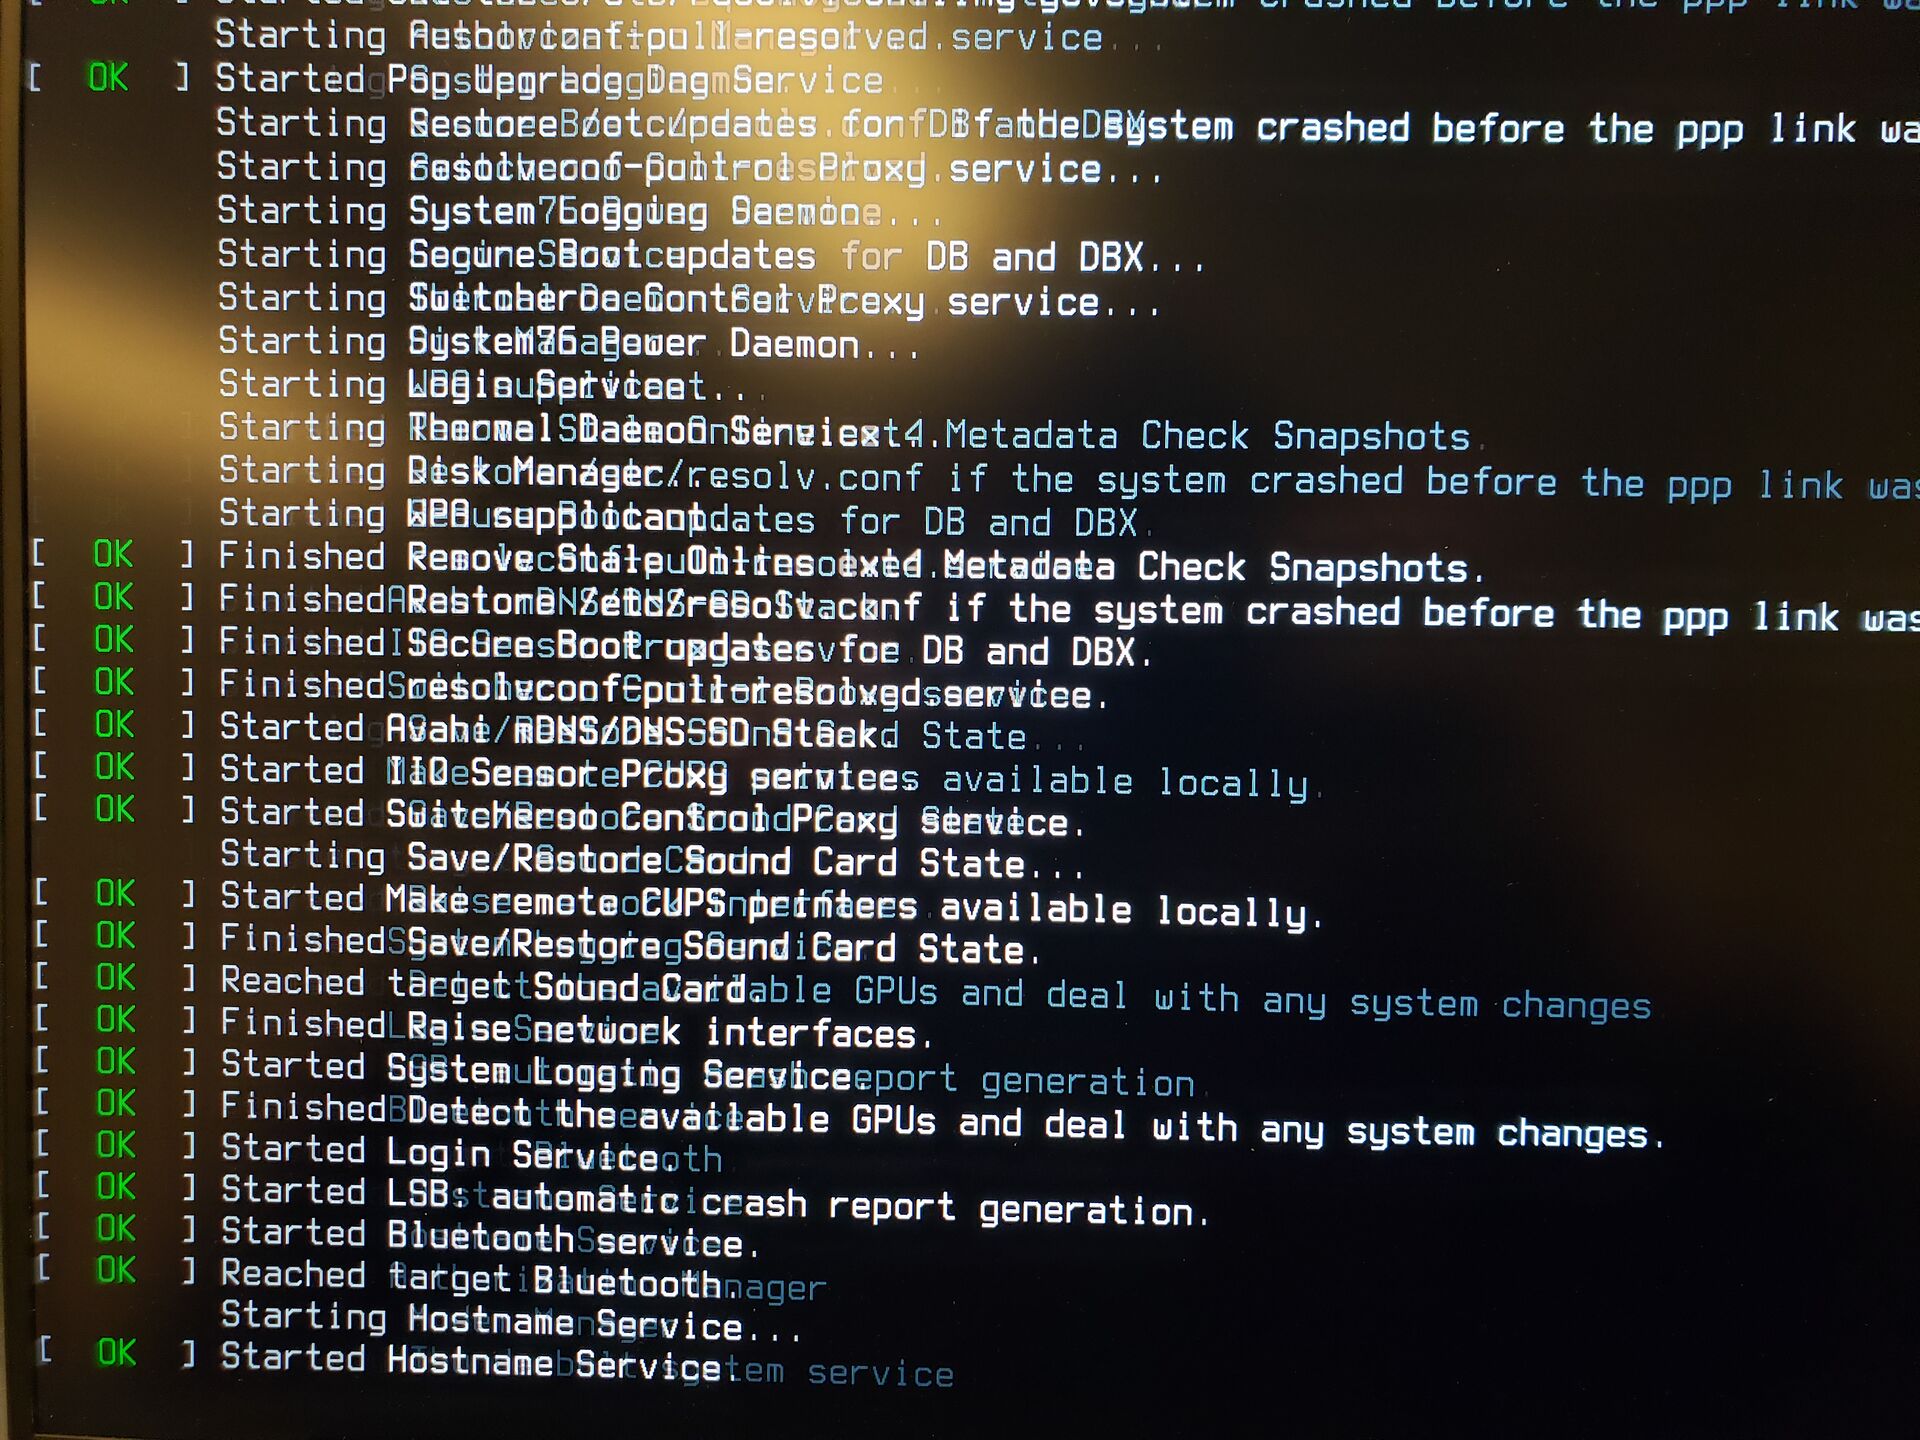
There will be a lot of text scrolling on the screen when you boot up. Don’t worry, that is what is supposed to happen. It is the Linux kernel telling you what it is doing on startup.
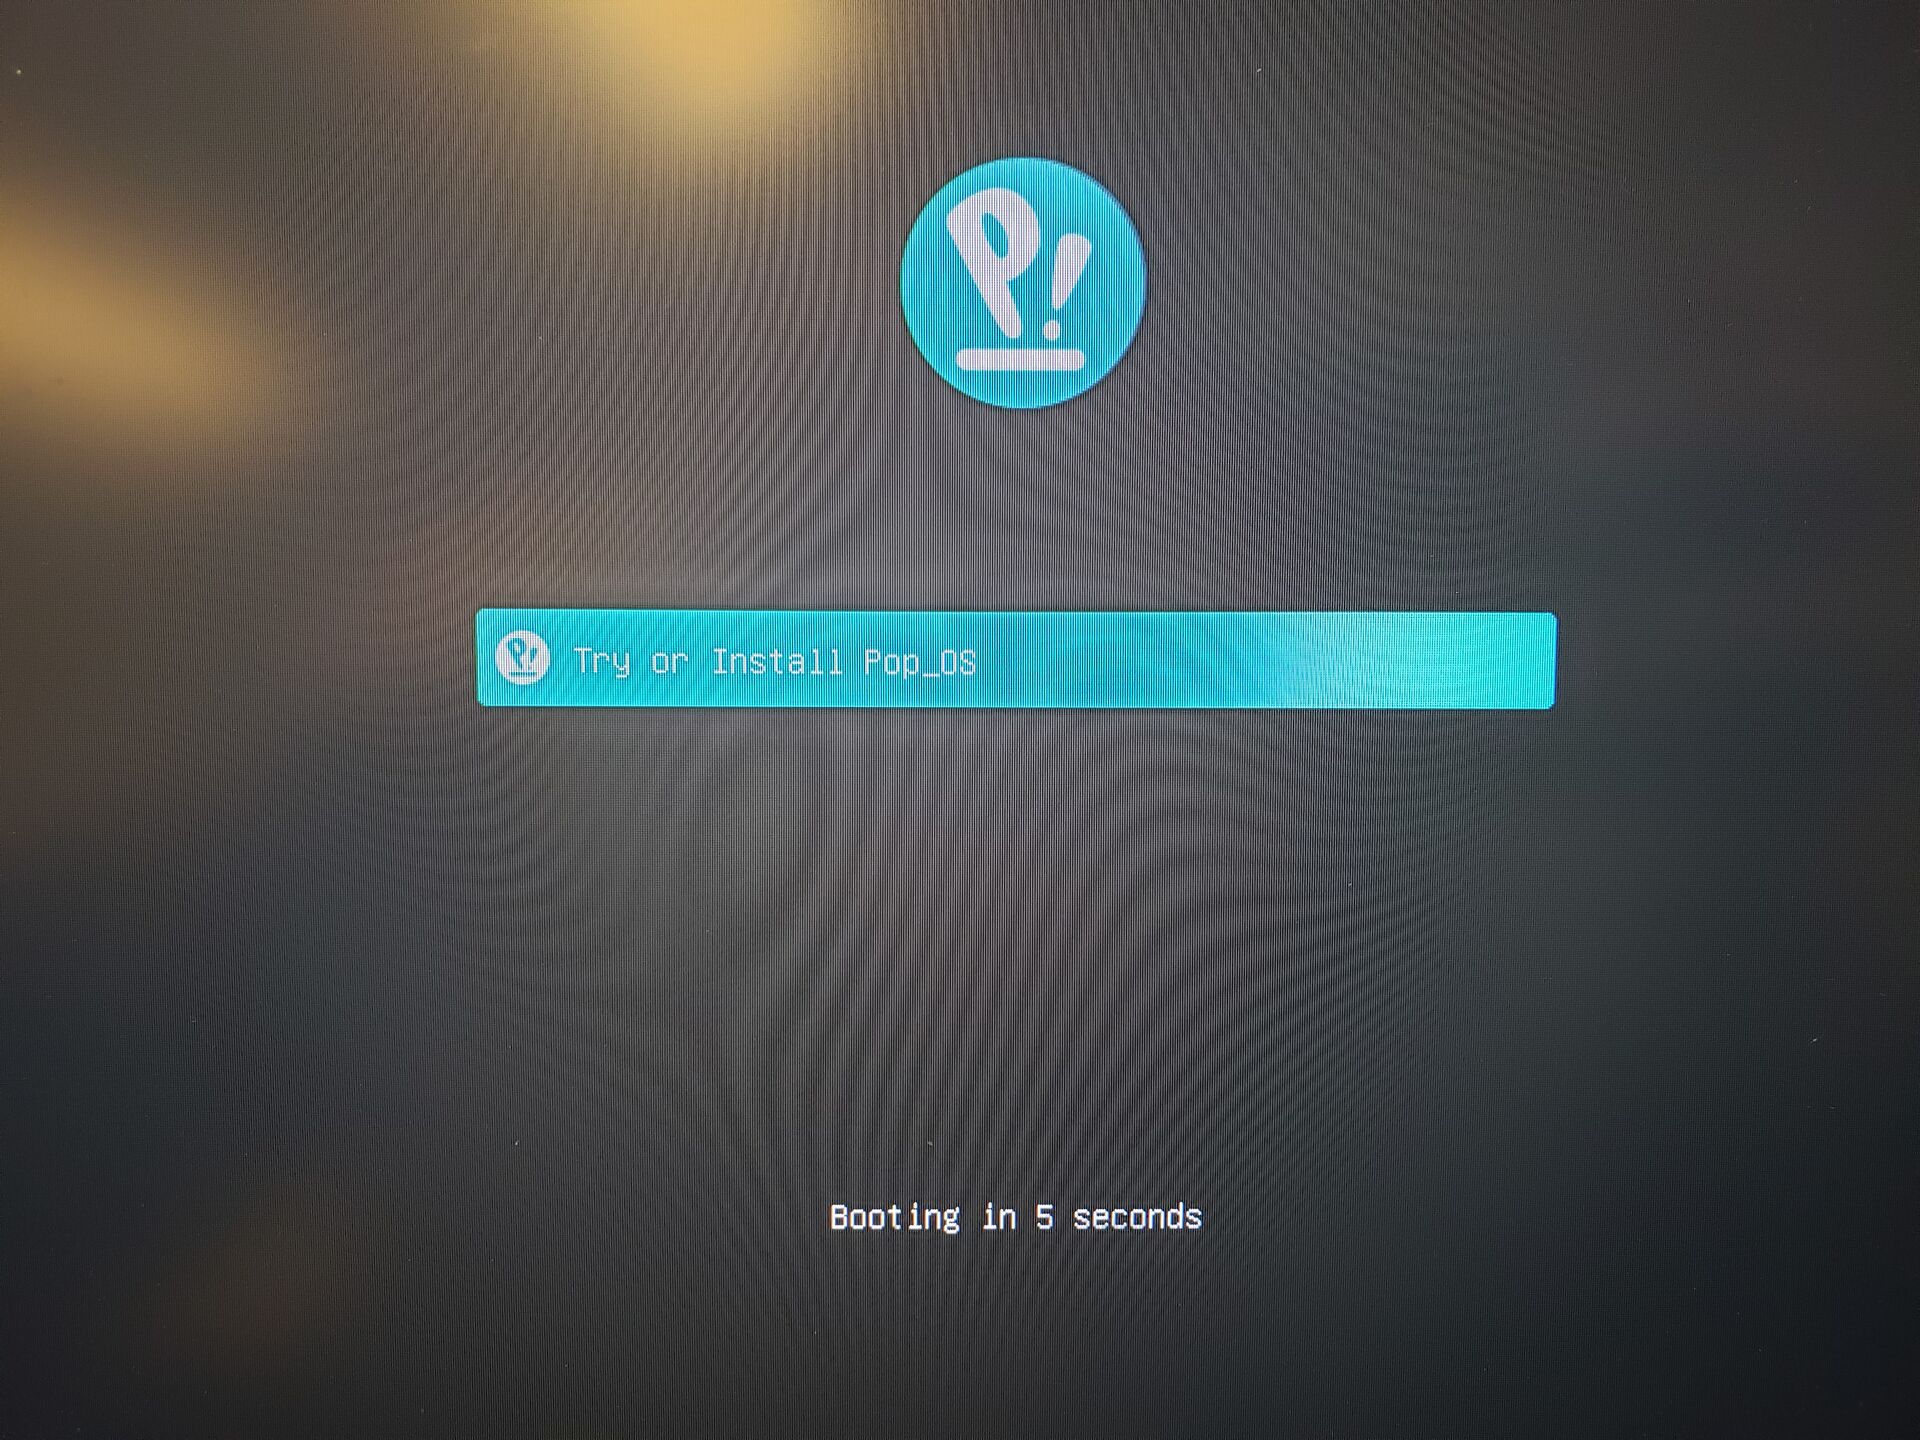
You then should see a screen like this, hit ENTER, or wait for it to continue on its own.
Step 3: Follow the Pop!_OS installer
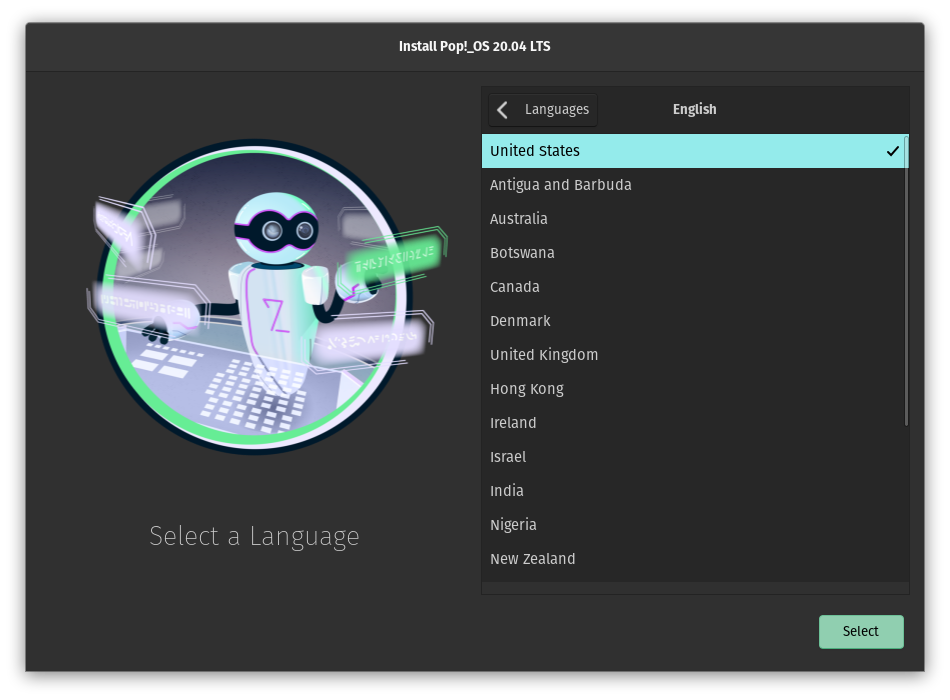
Now I am not going to go through all of the steps here as most of them are labeled/guided really well but I will mention a few that you should be careful about.
Mainly you will just have to set your language, username and password, along with some other things, but for our example here we will select “clean install”.
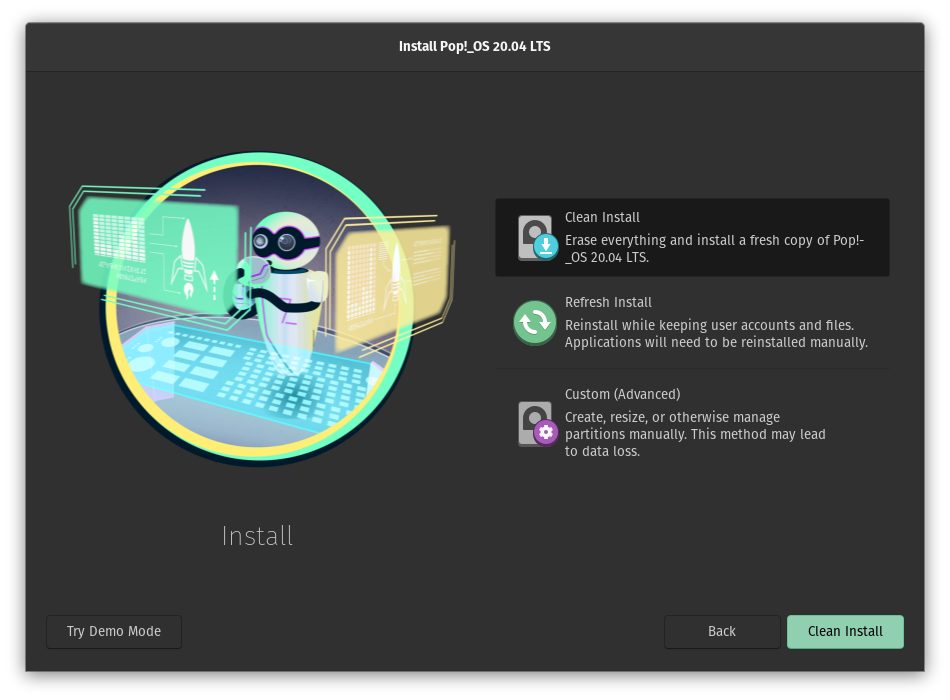
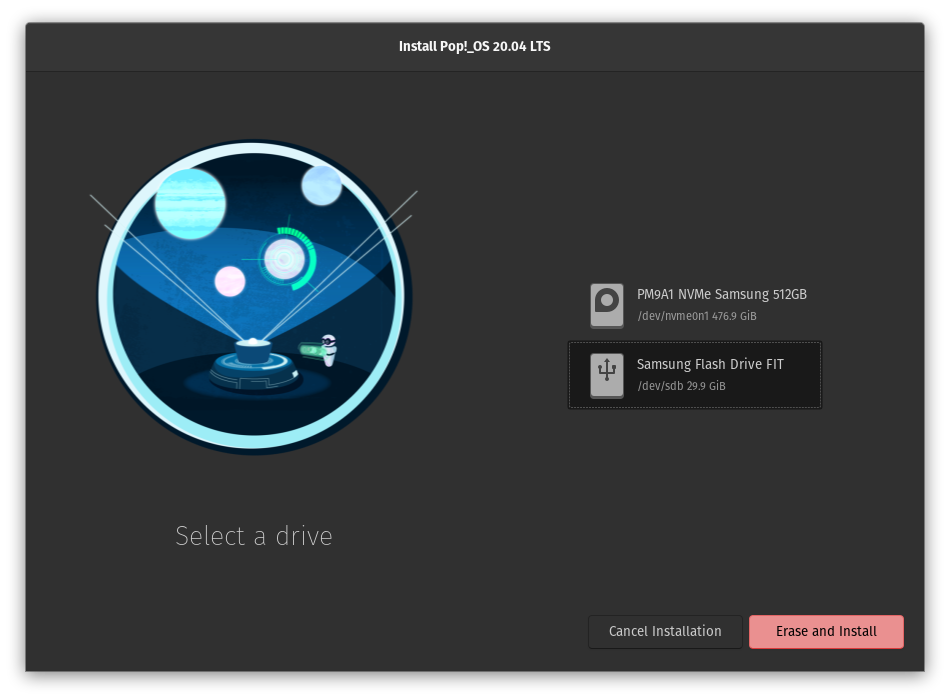
Make absolutely sure you are installing to the right drive. Installing with the method I will show you formats the drive before it begins. So make sure you do not have anything on the drive being installed to, unless you are willing to lose it.
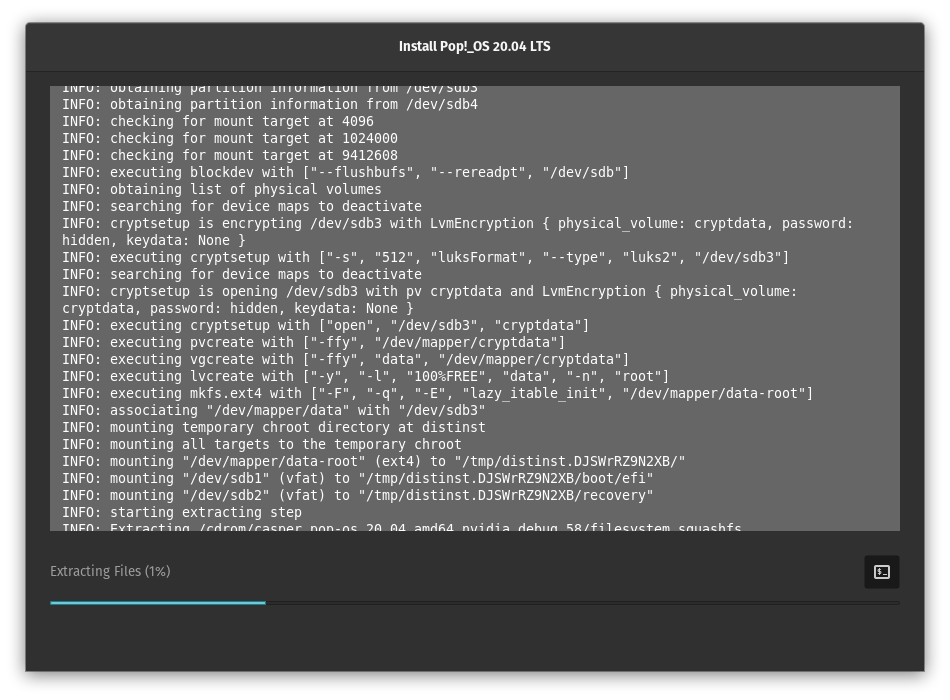
You should eventually get to a screen where you have a progress bar. If you wish to see what is happening under the hood you can click the button on the bottom right hand corner to show and hide this extra information.
Once installation is done you will have to reboot your computer.
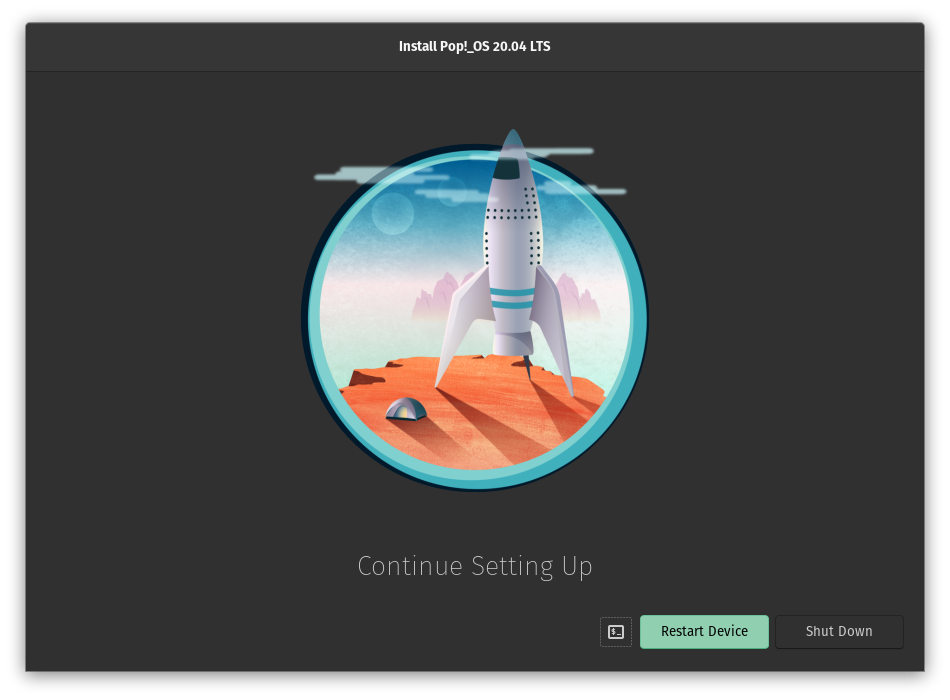
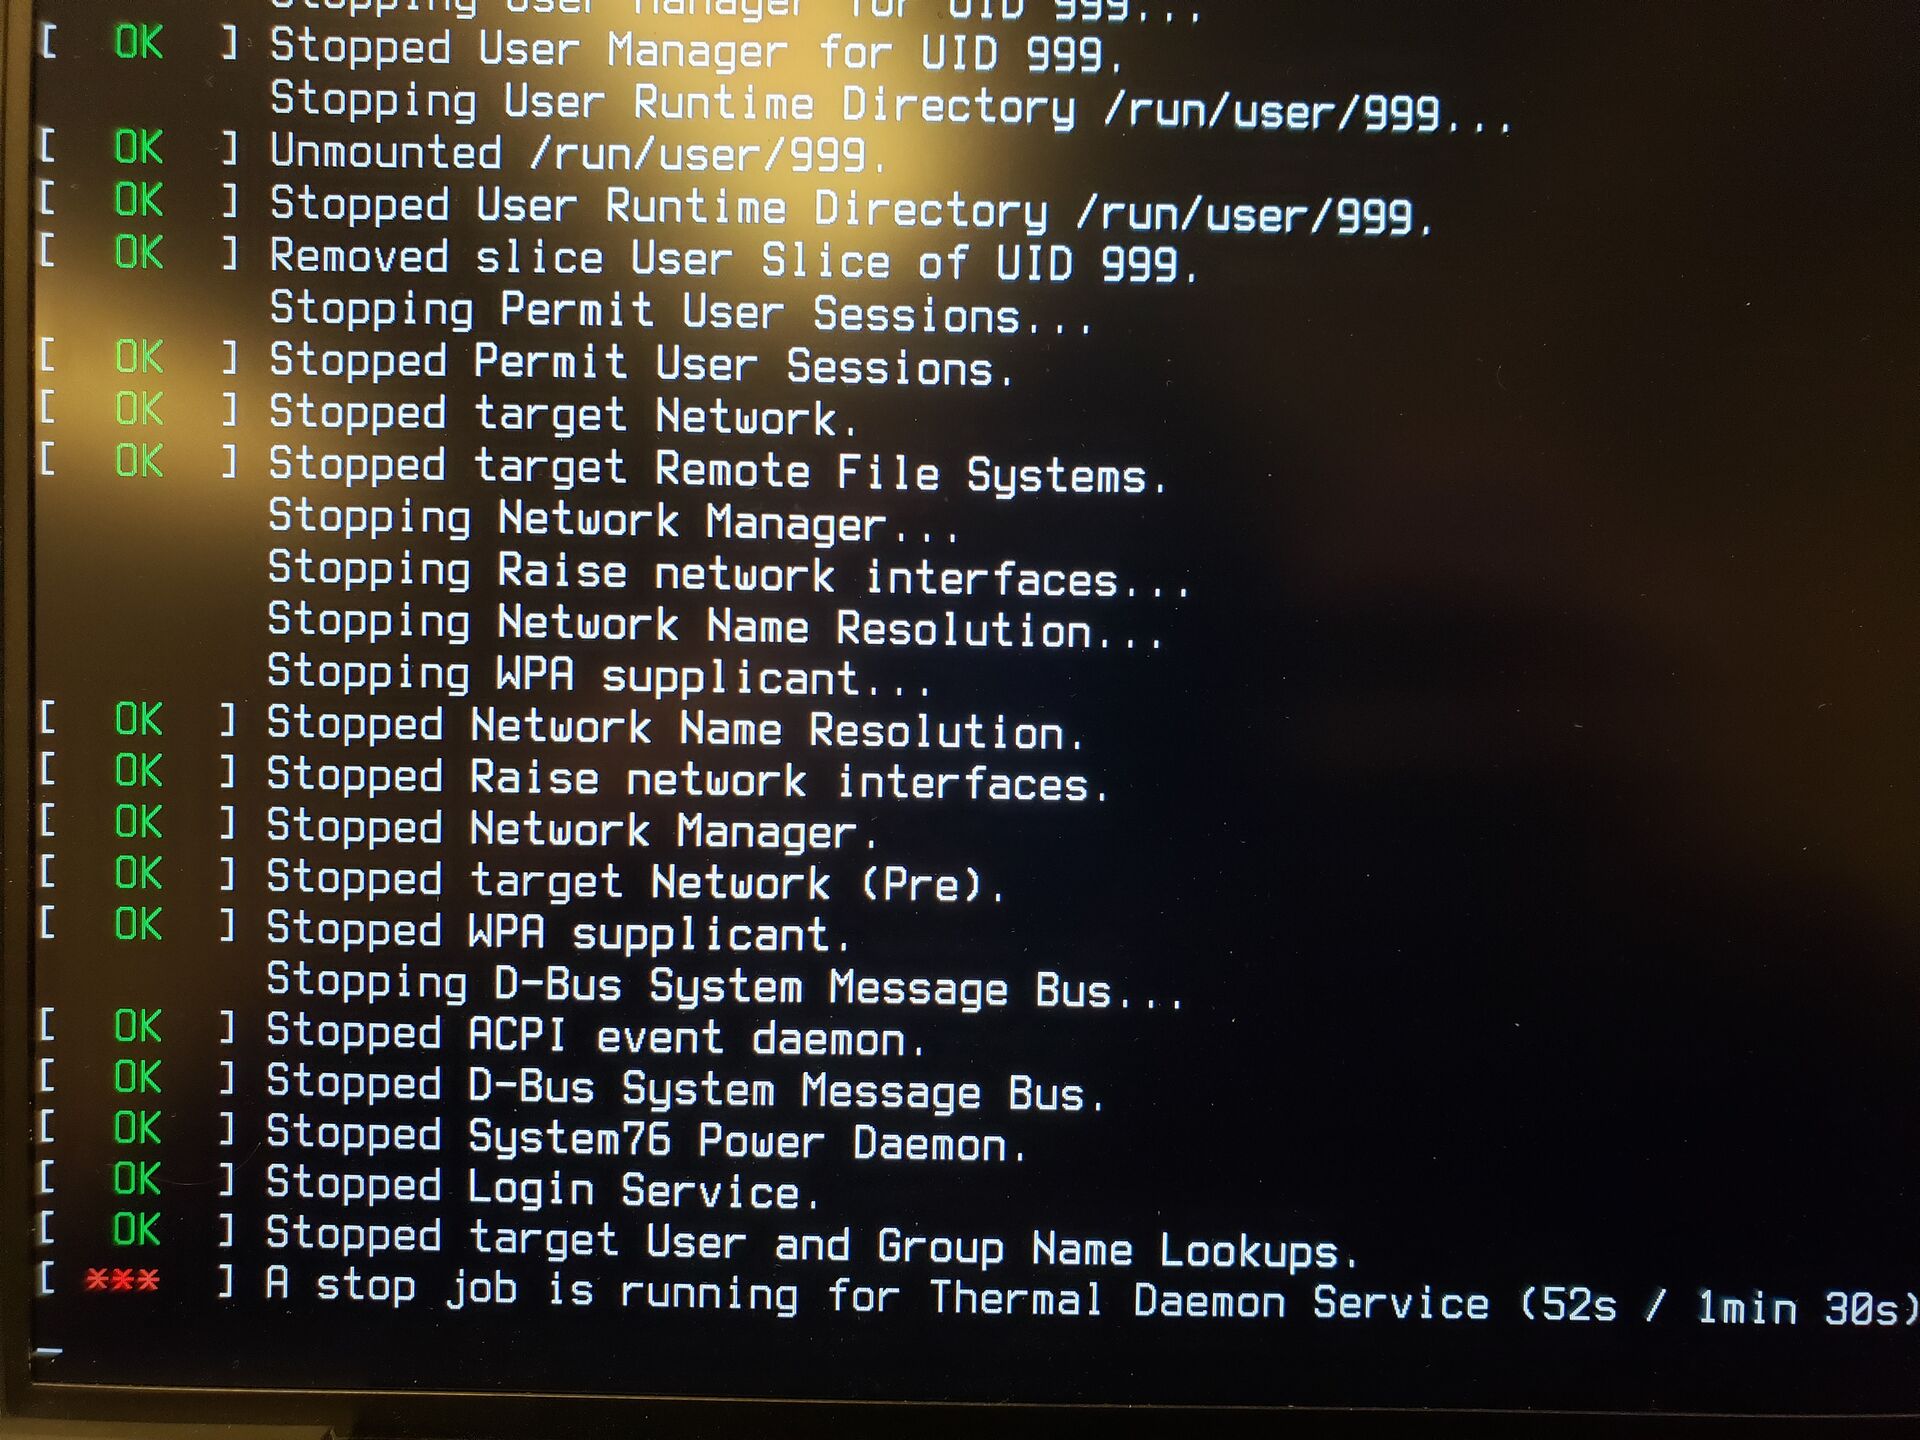
After pressing reboot, you might come into a screen like shown below. You can either wait for the task to finish, or you can just hold down your power button on your computer to shut it down and not wait. I often do this, and have had no bad things happen, but your mileage may vary.
Make sure you go back into the BIOS, and select the boot drive to be the one we just installed Linux to.
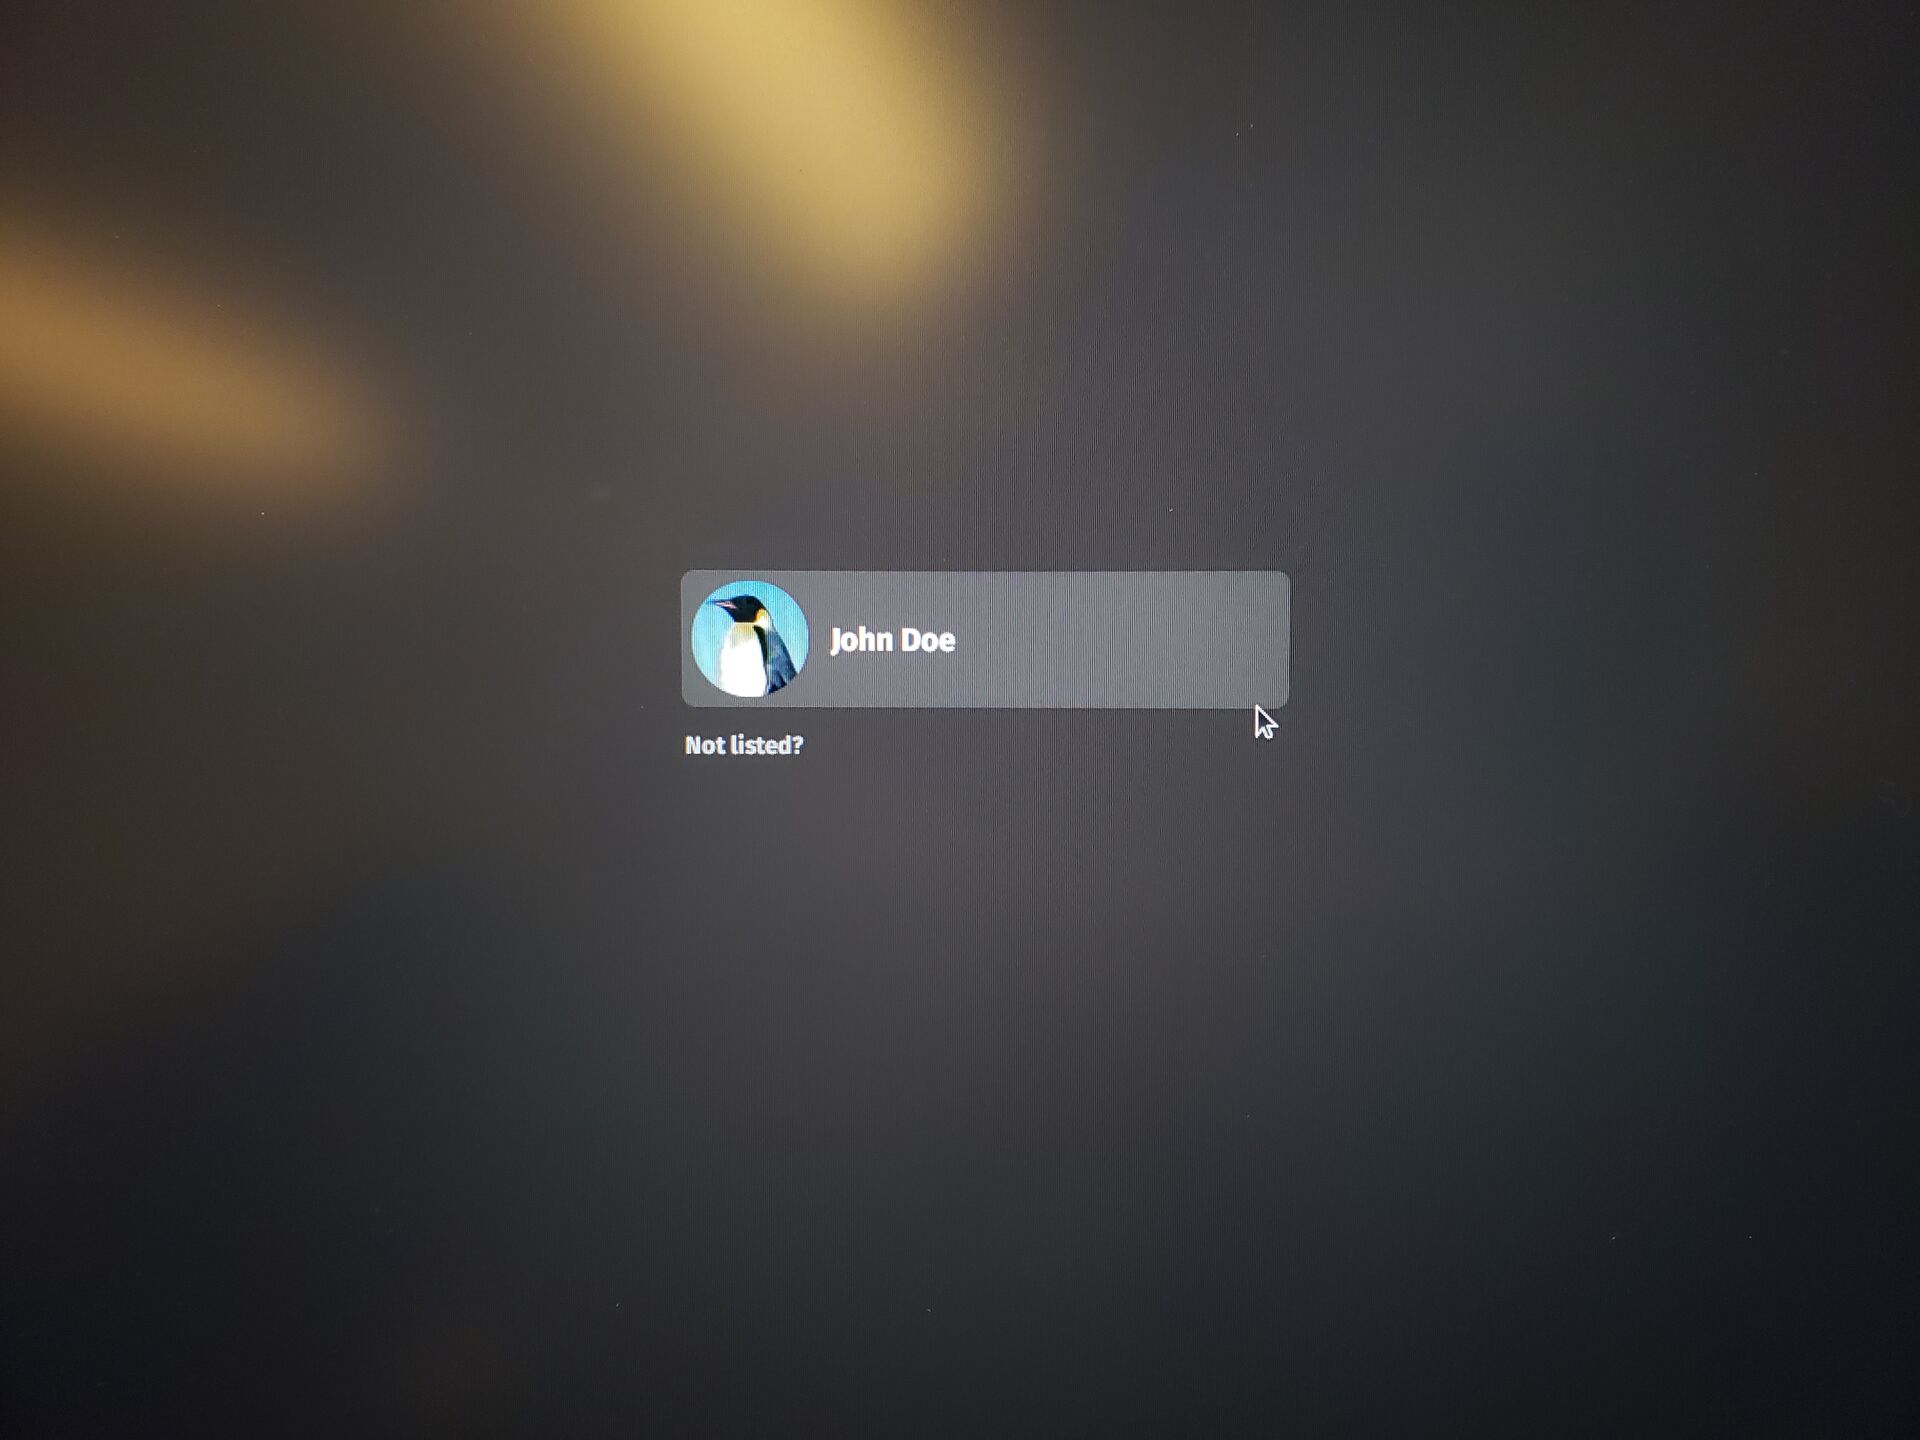
Yay! We are so close to done! Just have to login and setup some final touches.
Step 4: What to do after installing
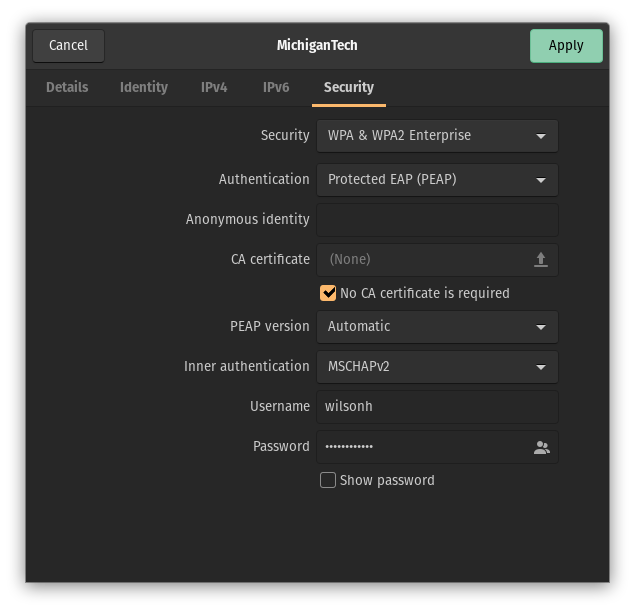
Now after logging in there will be a welcome screen and some more things to configure like privacy and WiFi. For the WiFi if you on Michigan Tech’s network, these are the settings you will have to use to log on.
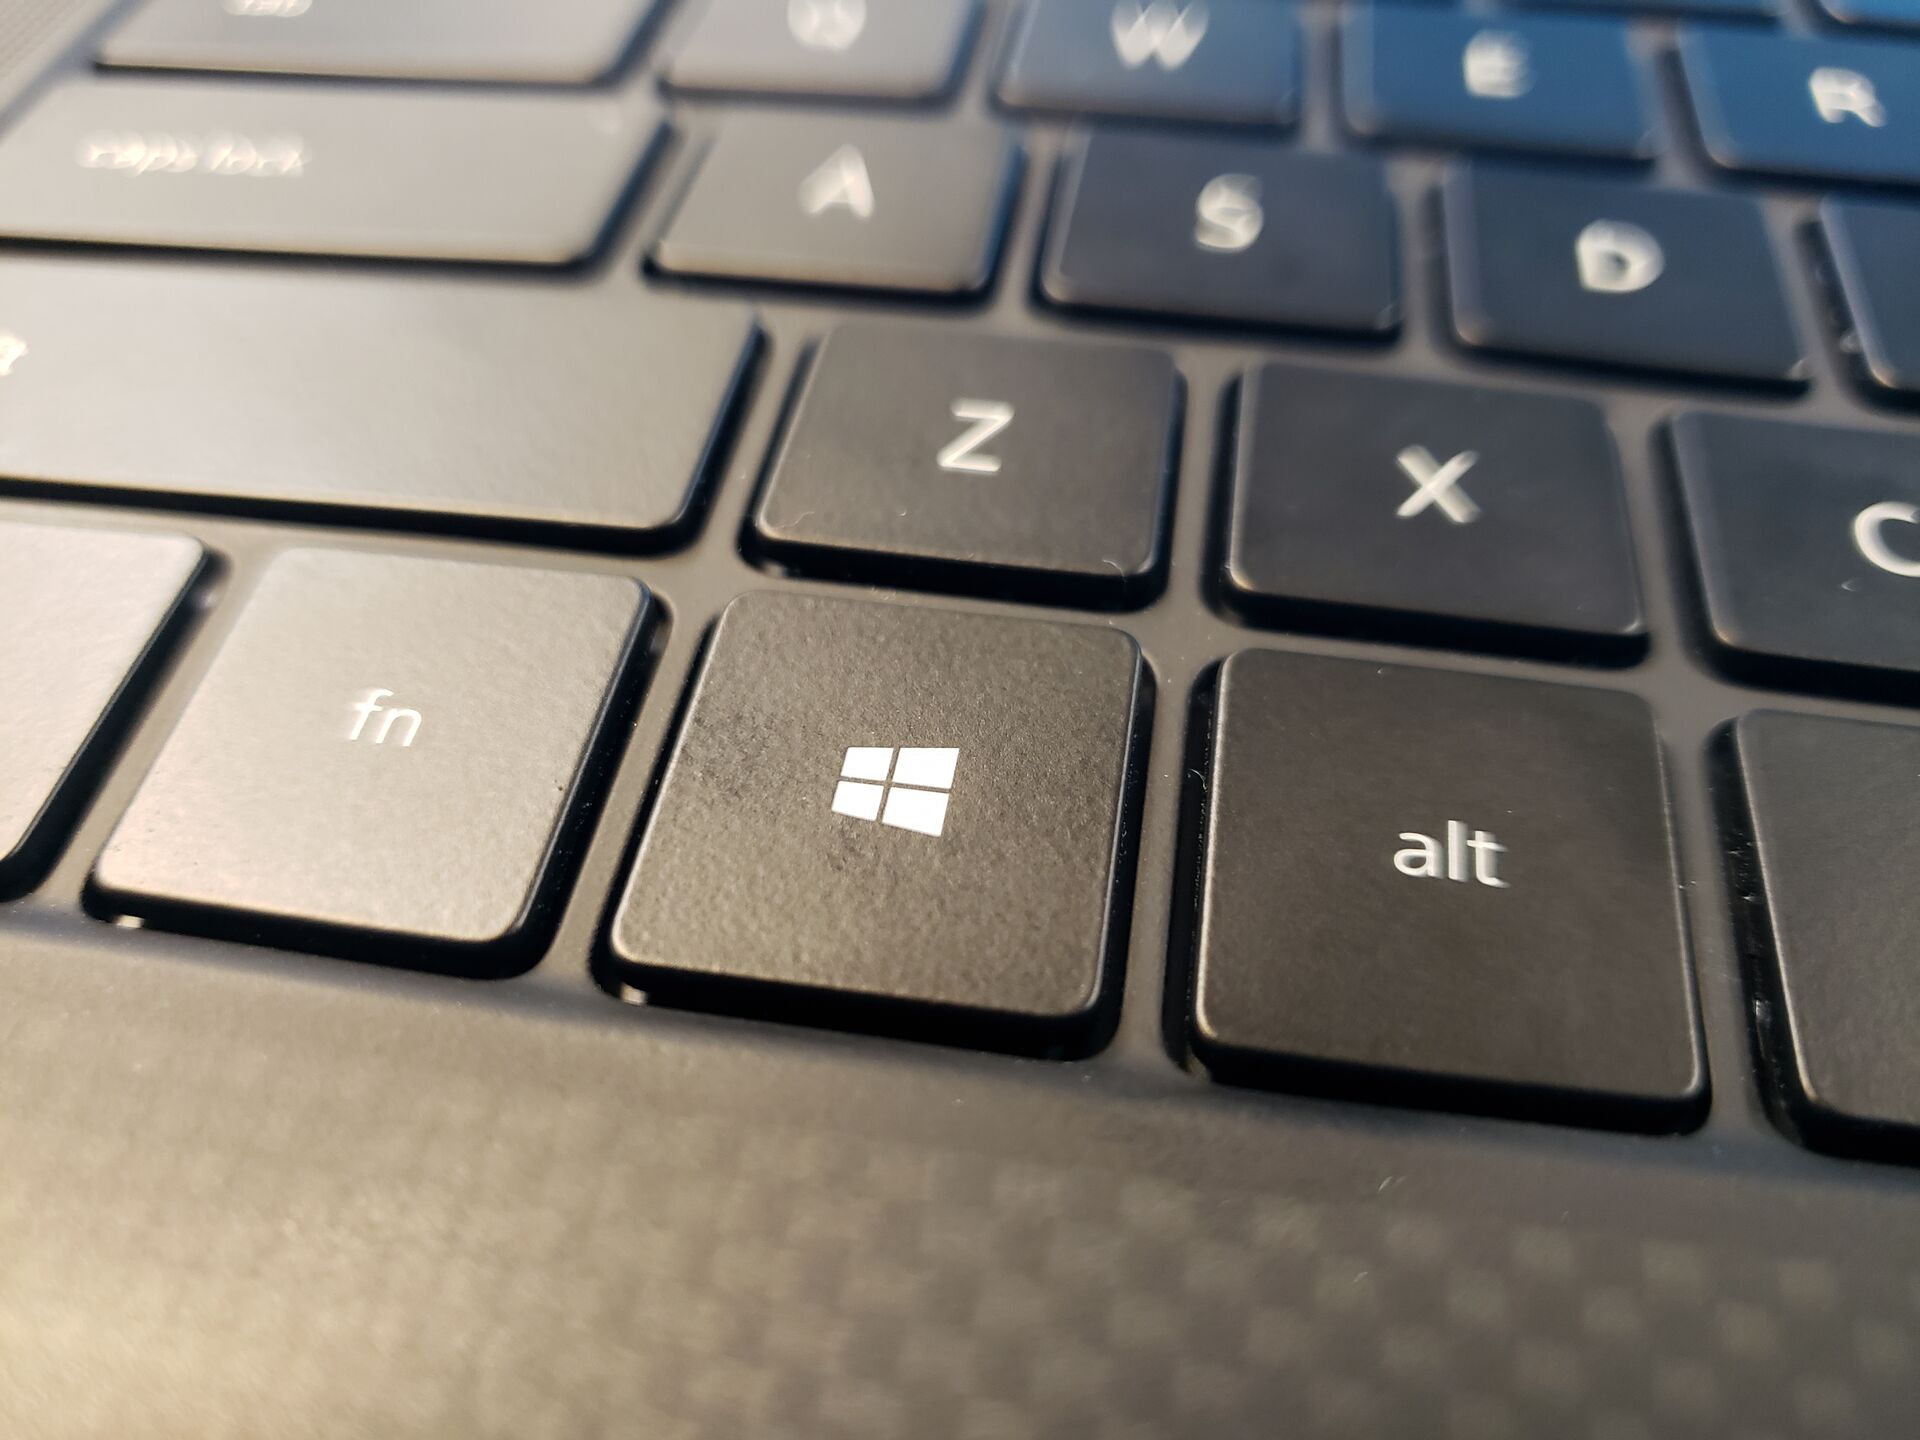
Once that is done you should install any updates that you have available for your system, on Pop!_OS this is done either by opening up the “Pop Shop” program and going over to the “Installed” tab, or by opening up a terminal and typing sudo apt update; sudo apt upgrade -y; flatpak update -y. In order to open up the “Terminal” or the “Pop Shop” you can press the “Windows Key” (Also know as the “Super Key” by Linux folks) and just type in their names in the search bar and hit enter.
Congratulations you have Linux installed on your computer!
#linux #mtu #guide #popos #ubuntu
-
An
.isofile is a common form of a disk image, in our case it contains a snapshot of an drive with Linux installed on it! ↩︎ -
A LTS release is a sort of guarantee from the developers of some software project that the project will have someone maintaining it (bugs being fixed and security vulnerabilities patched) for a certain, and defined amount of time. ↩︎
-
I was using the default (included) and open-source Mesa drivers, but I got a tip from a friend that I might have to use the proprietary
amdgpu-prodriver. I have not looked into this much, but here is a guide on the blender forums that seems to have some good info. ↩︎ -
BIOS stands for Basic Input Output System, and is kind of like the firmware that your motherboard runs. ↩︎