My Journey Learning ROS
December 26nd, 2021
Preface
This is an excerpt from a paper I wrote for my senior project at Michigan Technological University. I was software lead for the GrowBot robotics team, as well as president of the Open Source Hardware Enterprise (OSHE) at Tech, and that is how I ended up getting an opportunity to learn ROS, web development, and much more. The intent of the following is to showcase what I learned, while also hopefully being an aid to those learning ROS from scratch through wikis and blogs like I did. Hope this helps :)
ROS at a thousand feet
ROS or the Robot Operating System is an open-source, meta-operating system, meaning that it is not a true operating system, but more of a set of libraries and tools to make robotics software development more portable, reusable, and faster. It can also be described as robotics middleware. It allows programs or nodes to be run on one or many computers and for all of those nodes to have a standard API for communication between them. Nodes are just programs and can “publish” or “subscribe” to topics with messages being sent and received on them. For example, maybe you have a robot that has a single board computer (SBC) like a BeagleBone Black (BBB) on-board that is powerful enough to control a motor driver but does not have enough computational power to process the data from the sensors needed to plan for the robot’s next move. In such a case as this, a ROS node on the BBB can be used to gather sensor data, and publish it to a topic. Then a path planning node on a different networked computer could subscribe to that topic, process that sensor data, and send movement commands in a message to another topic that a motor controller node on the BBB would then subscribe to and use to tell the motors what to do.
Leveraging open-source for our robot
With the nature of ROS being open-source, there often is a drop-in solution for whatever you may want your robot to do, and for what we did with our robotic simulation and vision system that was the case. Most of my time was not spent explicitly writing code, but rather creating visible and physics simulation models for the robot, configuring plugins via .yaml and .xml files, naming files and folders specifically and placing them where ROS expected them to be, and tweaking environment variables. The programming that was done was written in python3 and utilized the standard libraries and tools available in the ROS1 distribution (Noetic)1 on Pop!_OS 20.042 (with Ubuntu 20.04 base3), as well as some code written using the ArUco library for opencv4.
Why did I learn ROS and OpenCV?
Now that the big picture of ROS is explained, the path that was taken to get our software doing what we envisioned, can be described. To start, what were our team’s goals and reasoning for using ROS? Our team needed a way for the robot to know when to stop and take sensor measurements when driving around the garden. The solution selected was a camera on the robot and augmented reality (AR) tags staked in the garden, that way no matter the dimensions of the garden (or placement of the plants therein), ArUco AR tags could be placed by plants and as the robot drove by, it could stop, take a measurement, and associate the gathered data with that specific plant. This solution was chosen over using GPS to do the same, as at the time, our team did not have confidence in the accuracy we would get out of a GPS solution that we could afford, but also choosing computer vision solved the problem of an end-user having to manually associate coordinates with every plant they wanted to monitor. After talking with some graduate students at Michigan Tech, we found out that there also may be a way to augment our wire following code using computer vision from the onboard camera to help navigate as well, so we decided to look at using ROS to accomplish this. This led us into developing a simulation environment with gazebo as there is snow on the ground for a non-trivial portion of the year in the Keweenaw peninsula, and we wanted to be able to keep iterating on our functionality even when our robot could not be outside.
Show below are a few videos displaying the GrowBot’s wire following functionality.
Gazebo
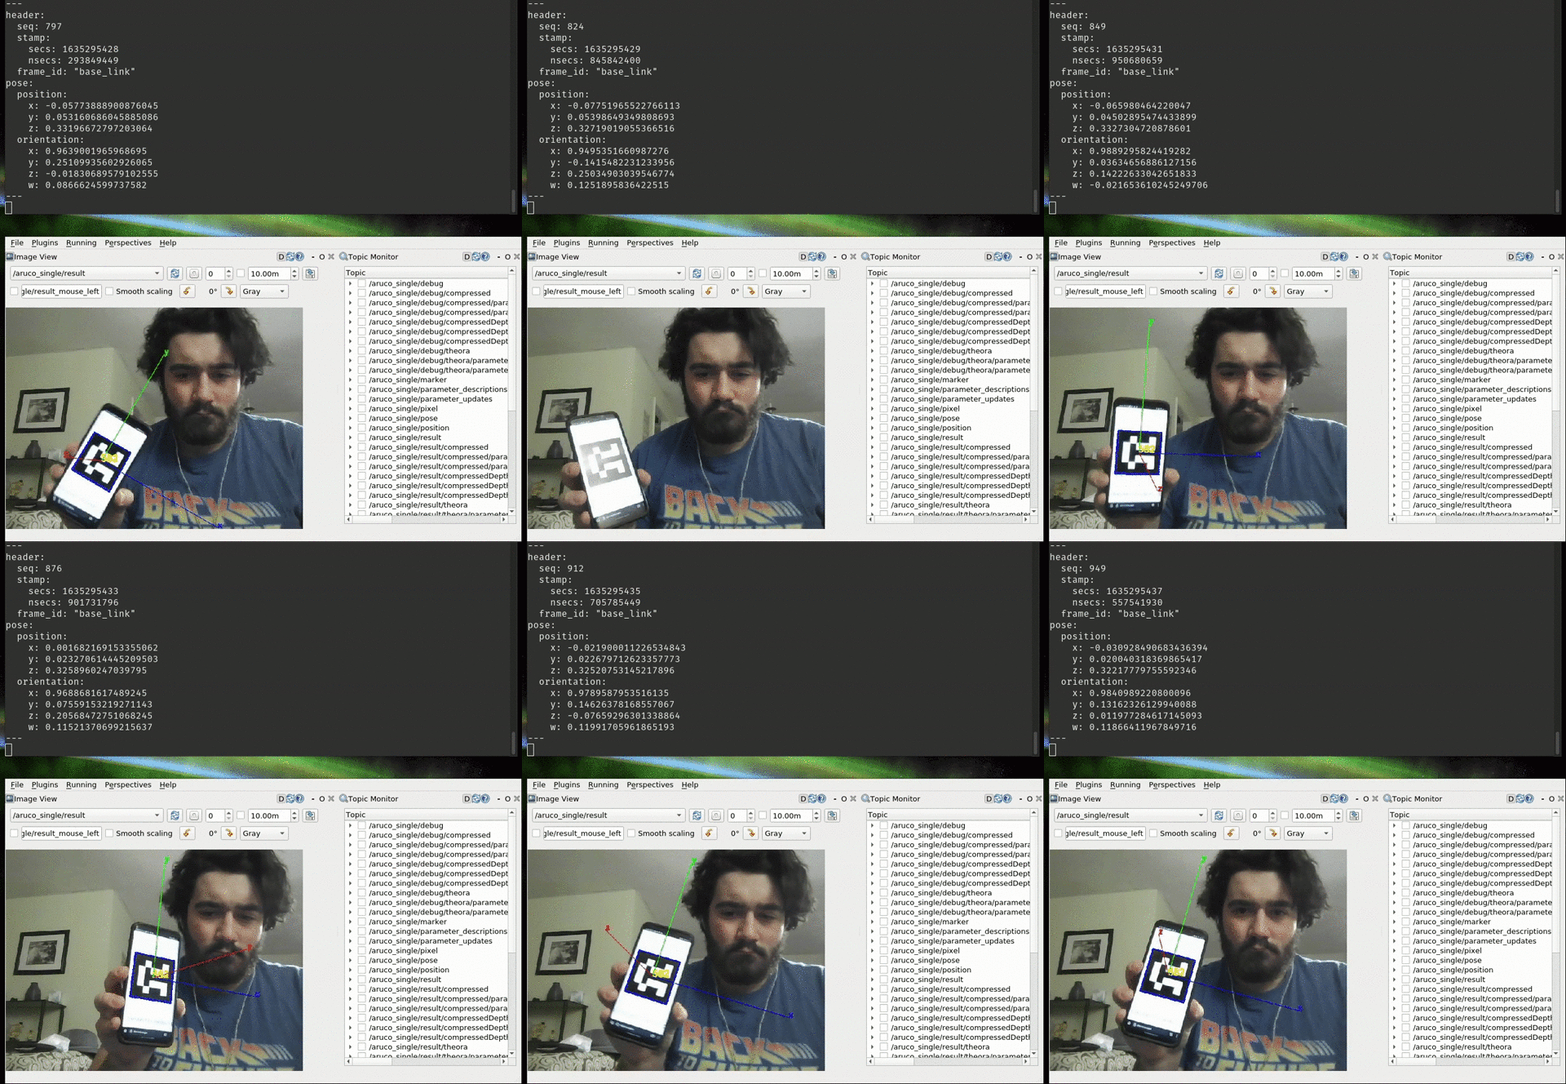
Gazebo5 is an open-source simulation tool that allows for robot models written with either .urdf plus .xacro files or .sdf files to be placed in world files that are built similarly. Gazebo can simulate physics as well as visual aspects of a robot and its surroundings and is used to rapidly test algorithms and control code that would be slow or dangerous to test in real life on real hardware. Because of gazebo, we were able to develop code that can identify and estimate X, Y, Z, Roll, Pitch, and Yaw (altogether called the “pose”) of an AR tag both on real hardware when we had access and time, as well as in simulation. This allowed us to more quickly iterate and test our programs for our robot.
Turtlesim
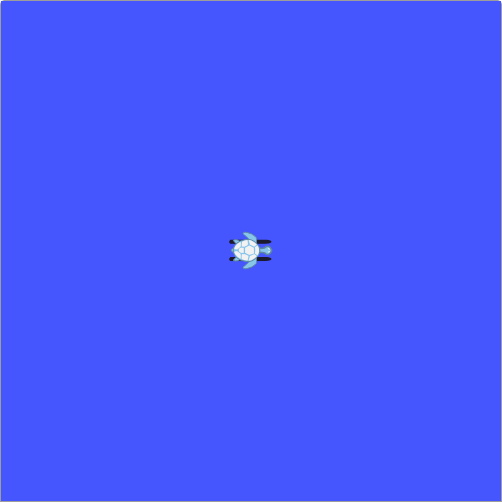
Truly learning how to use gazebo and its related plugins ended up being the fourth step in this implementation journey for us, the first part of learning the ROS framework was following tutorials found on the ROS wiki, as well as YouTube6 and internet blogs here and there7. These aided in our learning of ROS and got us familiar with ROS concepts such as: starting roscore, topics, messages, nodes, publishing and subscribing, as well as our first simulation. This simulation was not in gazebo, but rather in turtlesim as seen below. (Turtles have a significant/nostalgic meaning in robotics and computer science), and hence many aspects of ROS are turtle themed). Here it was learned how to use .launch files (really just .xml) to specify programs (nodes) to launch and what arguments to provide those programs with. Launching turtlesim, the available topics on the “ROS network” could be listed, then commands for angular and linear velocity, as well as other control commands, could be published to those topics and used to control the “turtle” in simulation. This process was the first major learning moment, and showed us that getting things working in ROS requires you to brush up on your Linux/UNIX skills as several things need to be sourced by your shell (and likely placed in your .bashrc or .zshrc to simplify redundant commands during simulation bring-up and development), as well as many command-line interface (CLI) tools that are necessary to use ROS, such as the catkin compiler. Environment variables were also introduced and proved to be quite hidden in terms of when they were required to make things work. Also, the concept of a catkin_ws or a workspace for your code to live in was introduced. catkin is the build system for ROS Noetic and is responsible for compiling ROS code and making aspects of your code tab-complete-able in a shell. While none of these things listed are too difficult to learn, if someone is trying to learn ROS, but does not have a basic knowledge of how to navigate in a Linux/UNIX like environment, nor has ever compiled software before, they may want to start there before the trial by fire of ROS.
Clone, Fork, Learn!
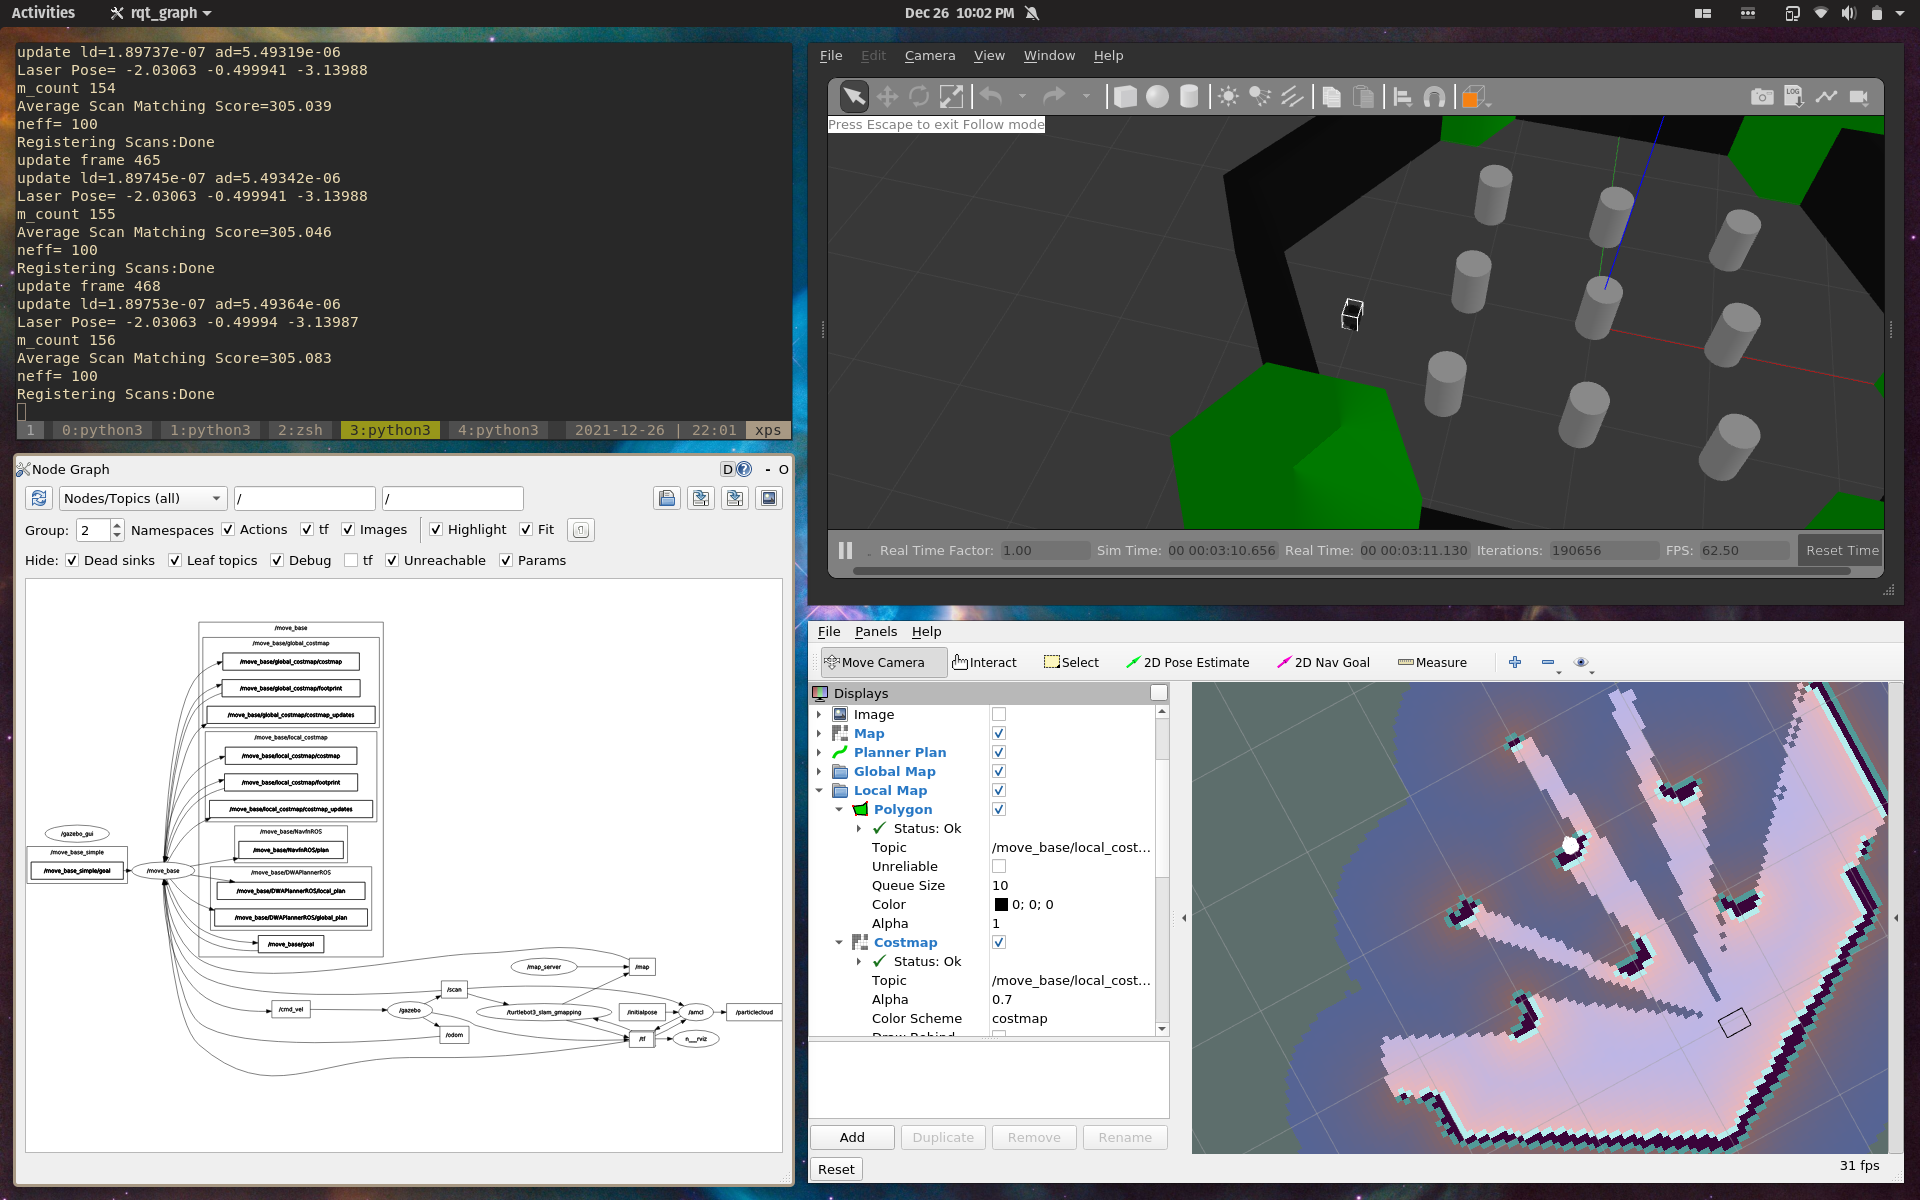
The second part of getting familiar enough with ROS (and moving beyond 2D turtles) was to simply launch other existing robotic project simulations that were using ROS. This was made possible by the open-source Clearpath Robotics’ Husky8 and Robotis’ Turtlebot39 code10 11 that is available on GitHub12. As mentioned in the previous section, learning ROS is an exercise in reading documentation and understanding the convention of the ROS development paradigm. So even though many robotic simulation projects exist online, and are open-source, getting one of them to work on your computer requires more than just downloading it. One must have a computer running the correct version of Ubuntu with a compatible version of ROS (or a virtual machine set up as such), and enough technical savvy to clone a git repository from GitHub, install dependencies, compile it for yourself using catkin, and then set any environment variables necessary for the project to run correctly. This process is deceivingly difficult at first but will help to learn ROS conventions and how these projects are supposed to be organized. Specifically, we looked at the getting started guides and wikis for both the Turtlebot3 and the Husky and followed along to get simulations launched and learn how to swap out different worlds, how to remotely control, map, or both map and path plan/localize at the same time (SLAM). This led to a deeper understanding of how to list and echo (view the data in) topics and how the data types in the messages were organized/specified via message files.
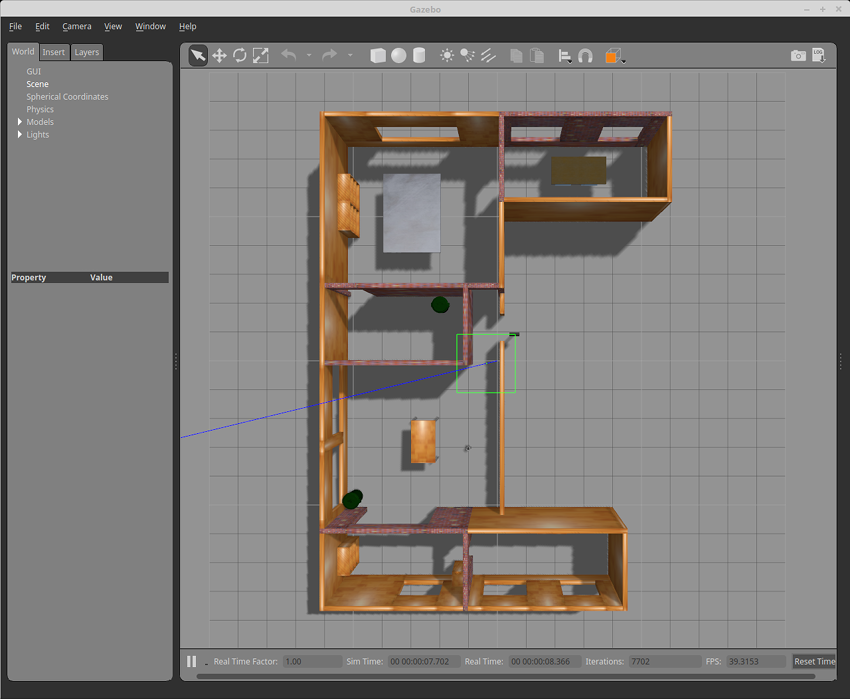
At this stage the main result was a deeper understanding of the command line interface of ROS and how to know if what should be in the “ROS node network” (graph) was there. It was here where tools like rviz, rqt, rosrun, roslaunch, rosnode list/info, and rostopic list/echo/info were starting to become understood.
“I do as the wiki guides”
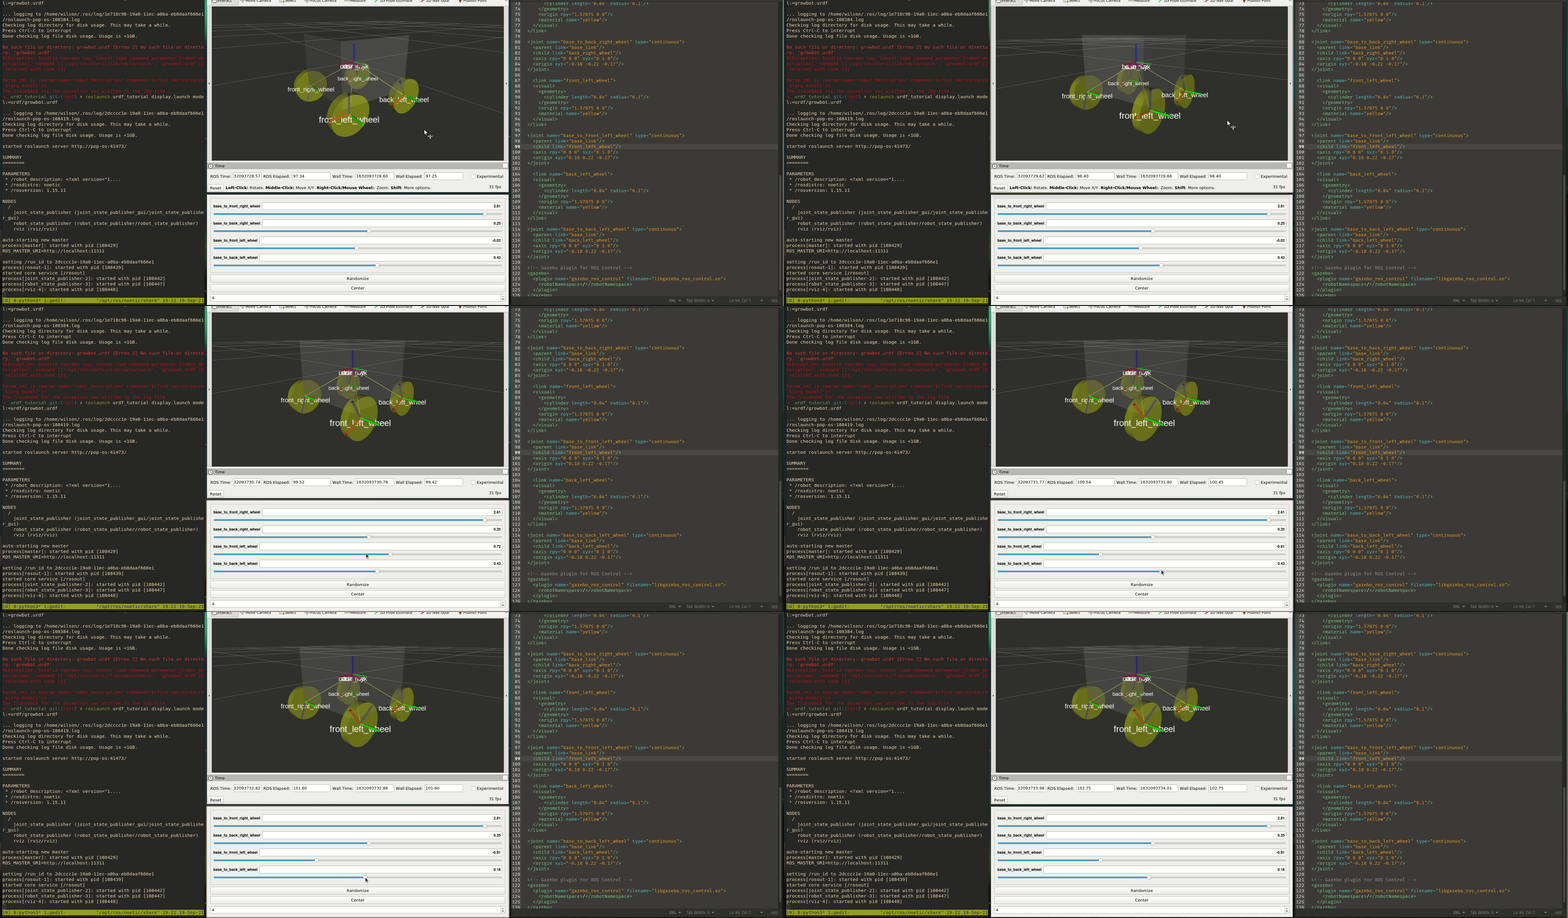
The third stage of our development involved following the ROS wiki, forums, and tutorials within and beginning to create our robot model. Here is where the .urdf stuff came in for us. We ended up using xacro to script the different components or links of our model to keep down repetitive code, but all xacro did for us was auto-generate a .urdf file for simulation, and it could have been hard-coded if the convention was to be neglected. In the .xacro files/ .urdf format each “part” or link of your robot has to have a visual, collision, and physics component to it. The physics are not as hard as they could be to implement, as there are easily accessible resources on Wikipedia for calculating moment-of-inertia tensors for common 3D objects 13, so as long as the robot model is not too complex (ours was relatively simple) the process for creating the matrix is plug and chug. Then each link needs to be related to each other with vectors, and colors and joints need to be specified with special plugins and definitions that can be loaded from other .gazebo files, however, it should be noted that all of these file extensions are, again, just convention. Extensions such as .launch, .urdf, .xacro, .gazebo, and many others are just .xml, but with these specified extensions to make file structure and organization easier. During this phase, there was a lot of Googling to understand all of this convention, but it was pretty quick to know if the robot model was working or not because it could be loaded up in rviz (ROS’ model and sensor data visualizer) near-instantly (a glimpse of the development workflow can be seen below). Here we got our hands dirty and made our launch file for rviz using our model and applied a configuration file to rviz on launch to make viewing more optimal.
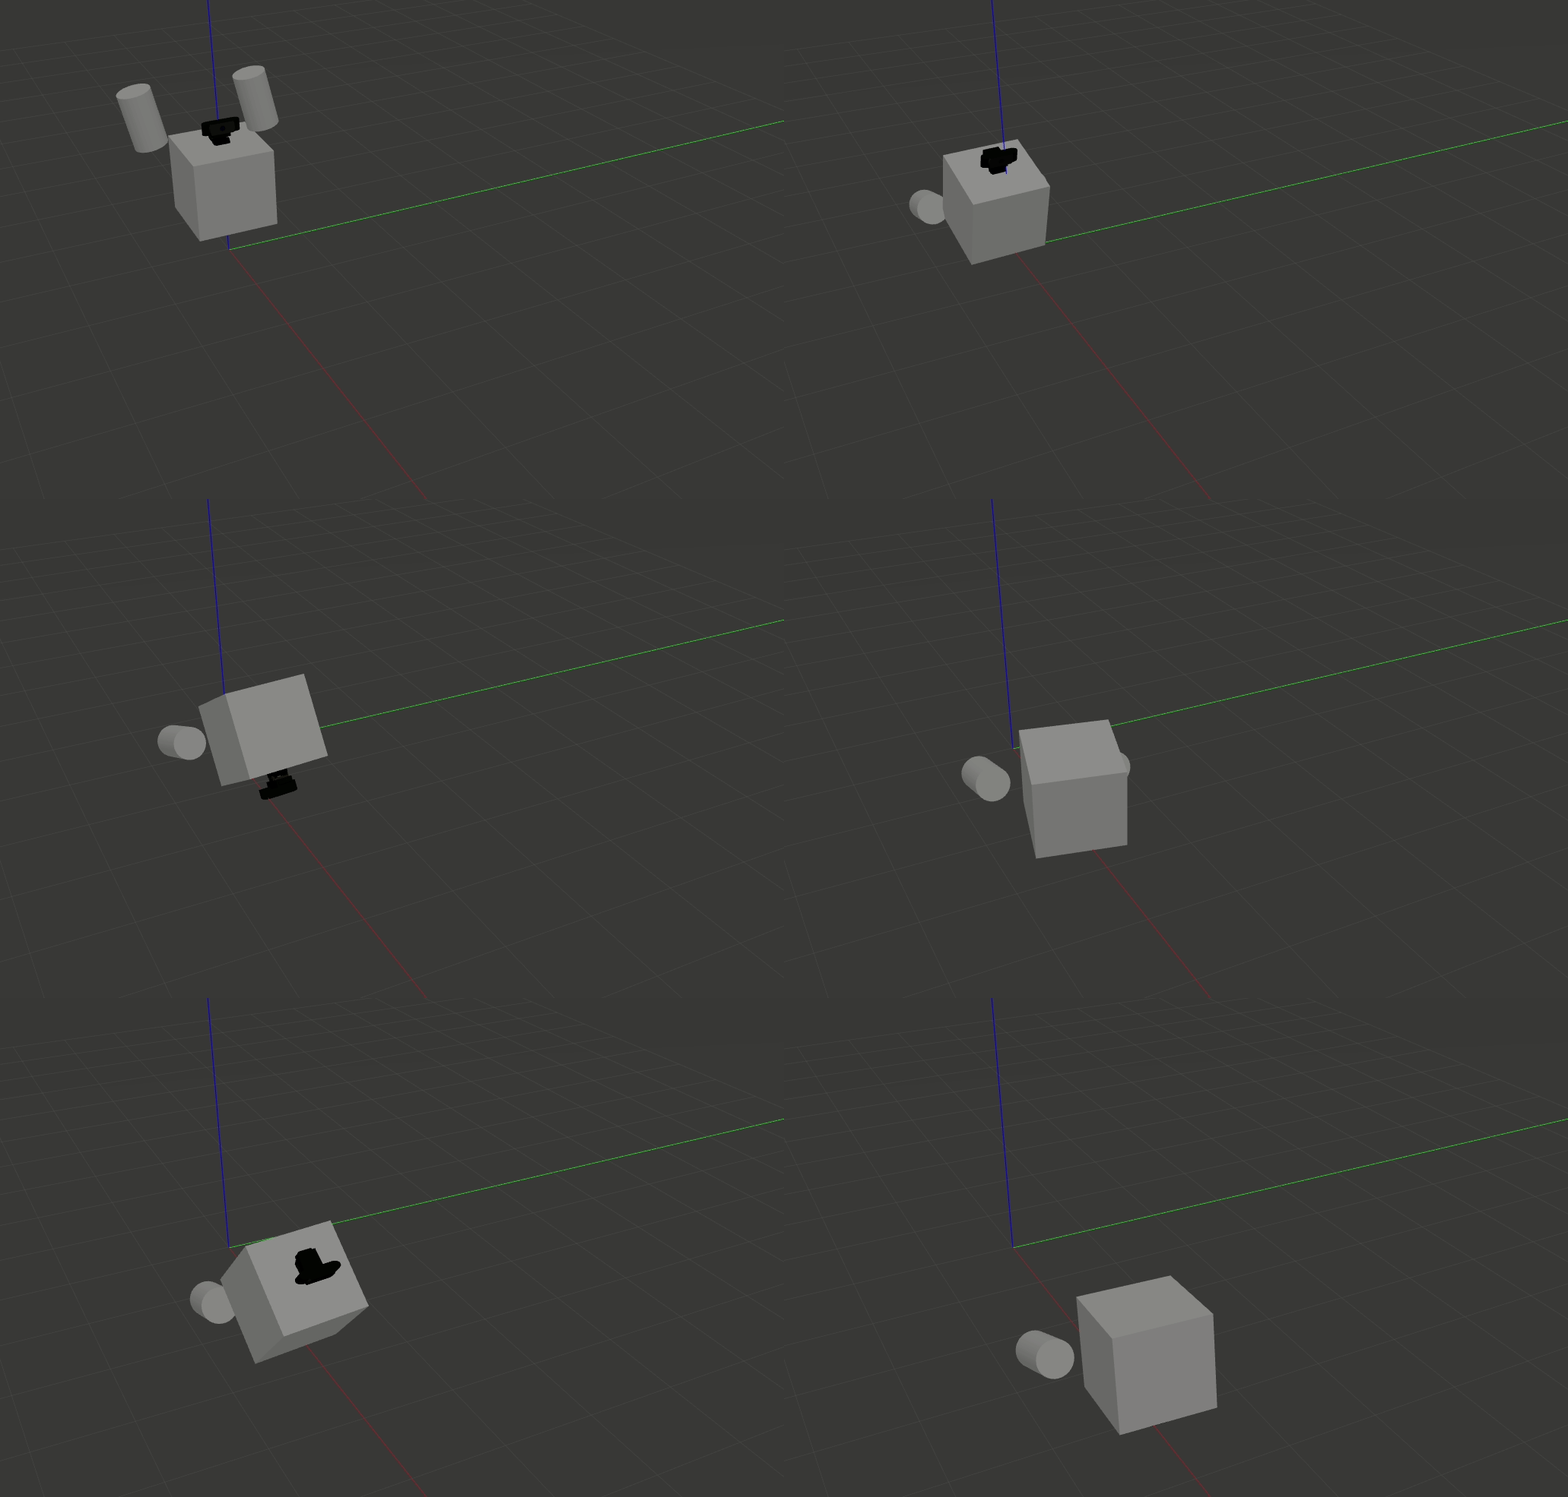
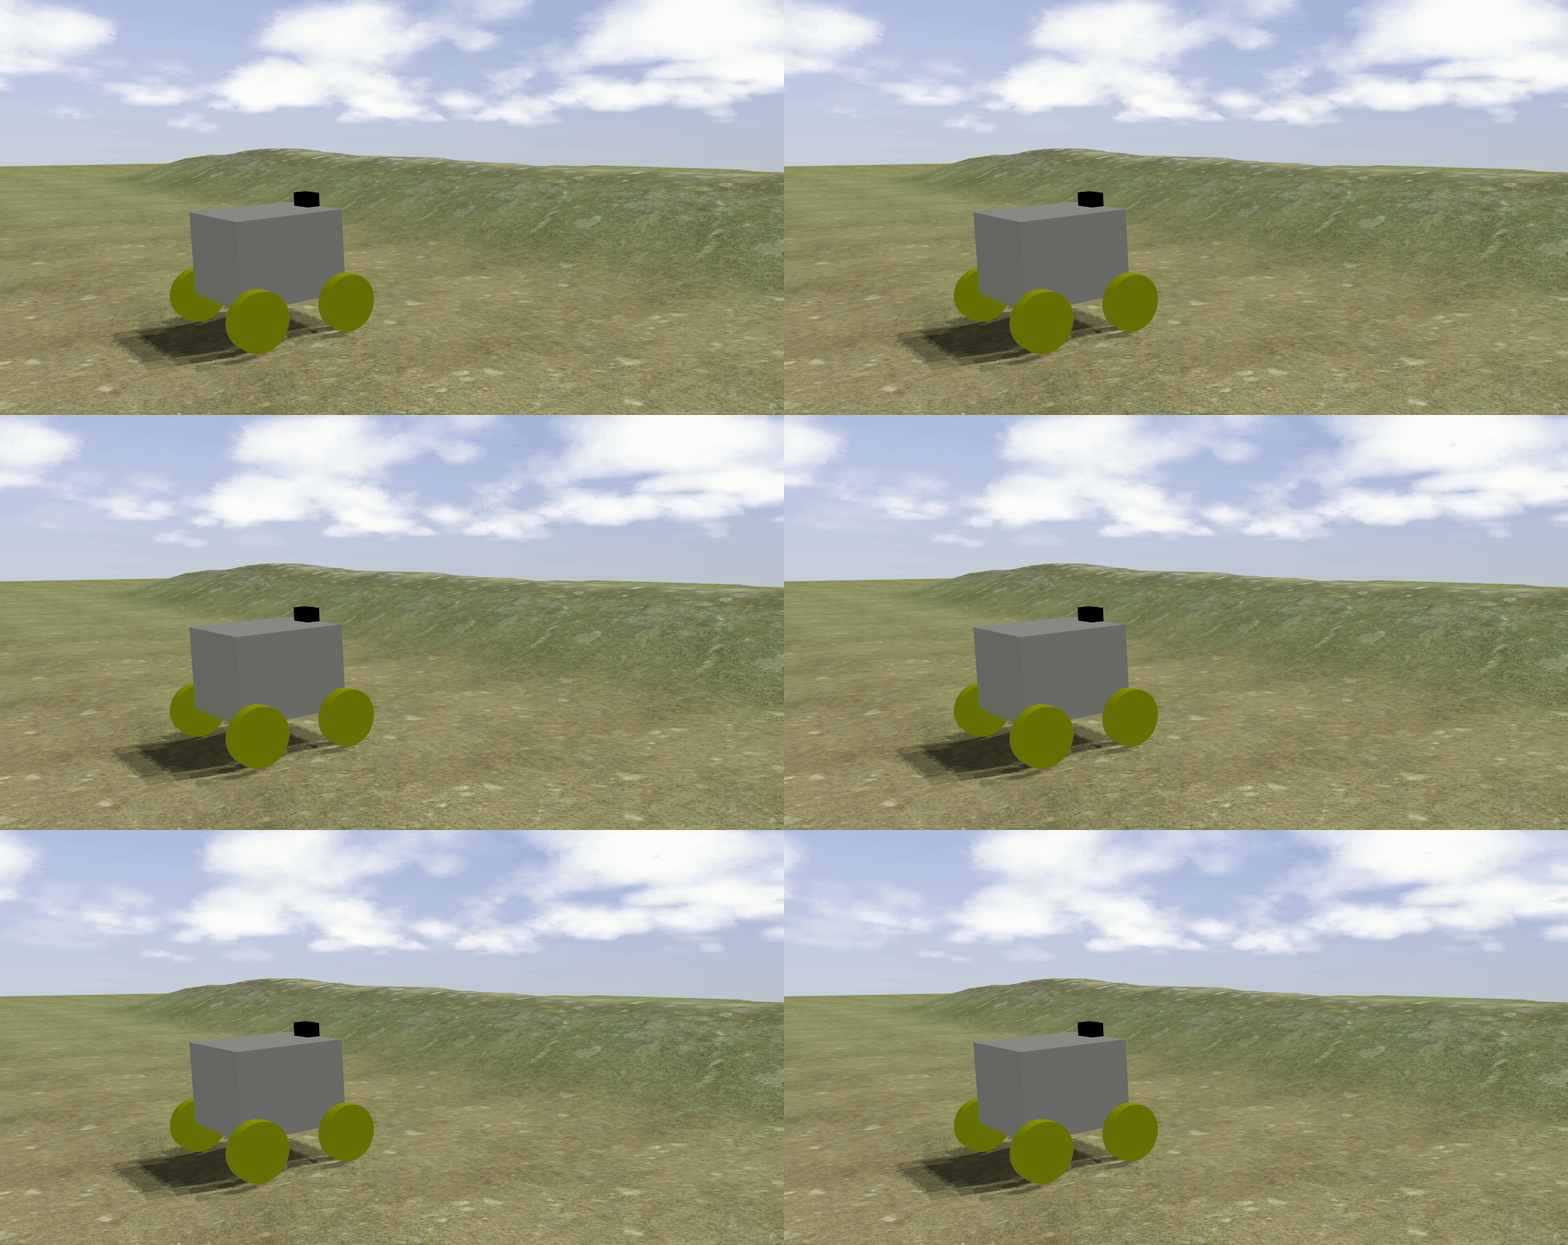
Shown above is the first time I got anything to move in gazebo!
And with the model finally completed, gazebo was the last piece of the puzzle for simulation to work. Most of what was learned in this phase was an even better understanding of .launch files and namespaces in ROS, as well as the configuration of plugins that we were using. We used ROS’ controller_manager and its gazebo plugin to control the rotation of the wheels on the robot and we used the sensors plugin to bring a simulated camera into the virtual environment.
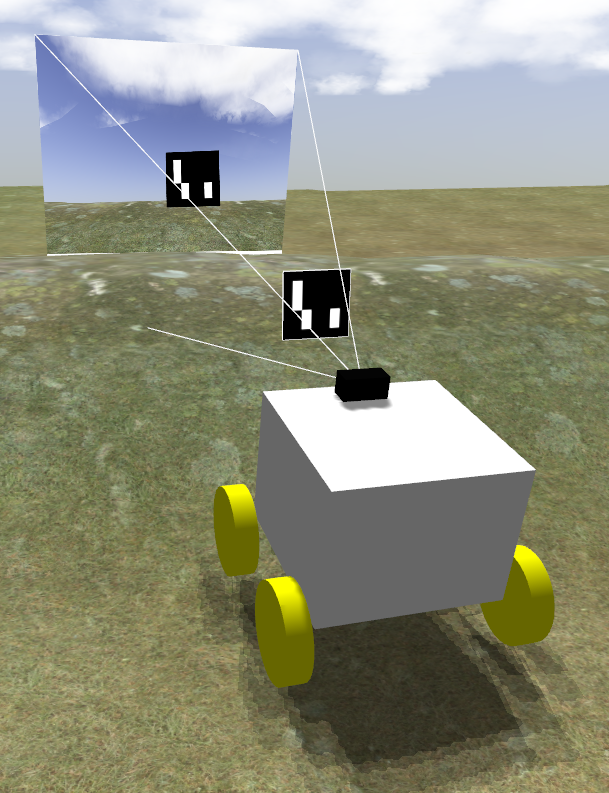
The controller plugin required that a .yaml file be created that had information about which joints between the robot’s models links were to be controlled, then how. For us, that was all 4 wheels and they were treated as continuous movement velocity controlled joints. The camera plugin needed some configuration .xml to be placed in the .urdf file, so our .xacro file setup was modified to accommodate that. We also added some nice touches like getting clouds and a blue sky which was done by adding, again, some .xml to the world file, and we got terrain to be somewhat more realistic by applying noise to a black image in GIMP14, then using that image to create a height-map for the world’s terrain.
Sim. and IRL feature parity
The last piece that our team worked on was using the ROS simulation in gazebo to test out functions that we already had implemented in the real world to get feature parity between what we wanted to test in physical and simulated environments. Some tools like pose estimation of ArUco tags made possible by the aruco_ros library were made to work with simulation and hardware at the same time. Whereas the remote control program that was written in previous semesters of the GrowBot project was modified slightly to publish to the topics created by the controller_manager mentioned earlier so that the robot could be remotely controlled through a CLI program.
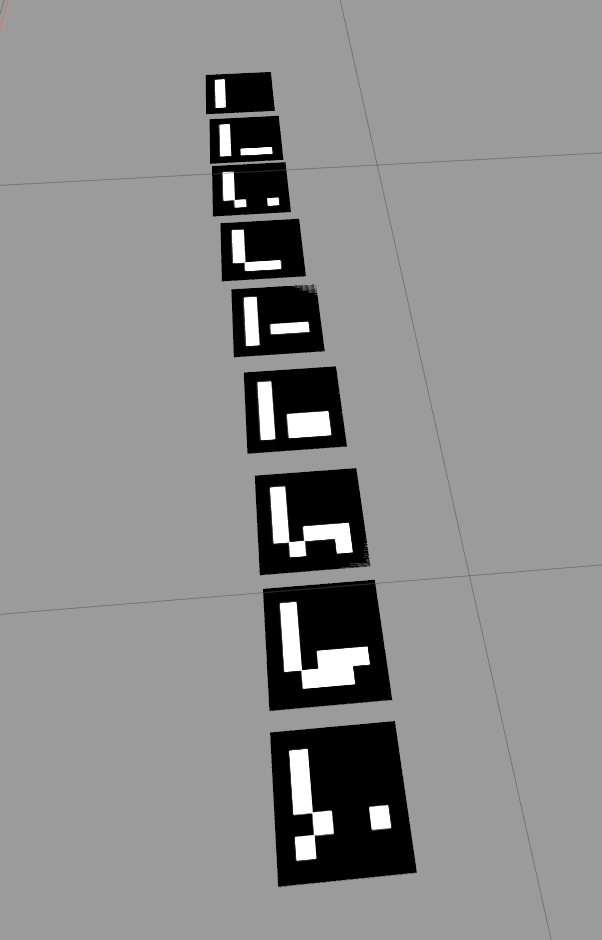
Separate from ArUco pose estimation was the AR-tag detection code, which was capable of assigning an arbitrary amount of tags to be navigational aids or plant identifiers.
Future work
Some future recommendations for this project; The use of simulation tools like gazebo makes for an environment where tests can be run automatically and iterated upon. As such, machine learning applications such as neural networks and other methods can be used to train models on sensor data that has been captured and stored in rosbags. This would allow for many future functions of the robot to be optimized with those technologies and could be used to tackle more difficult computer vision and navigation problems. For example, the camera could be used to detect pests, ripe vegetation, and then drive to that spot for whatever task might be at hand.
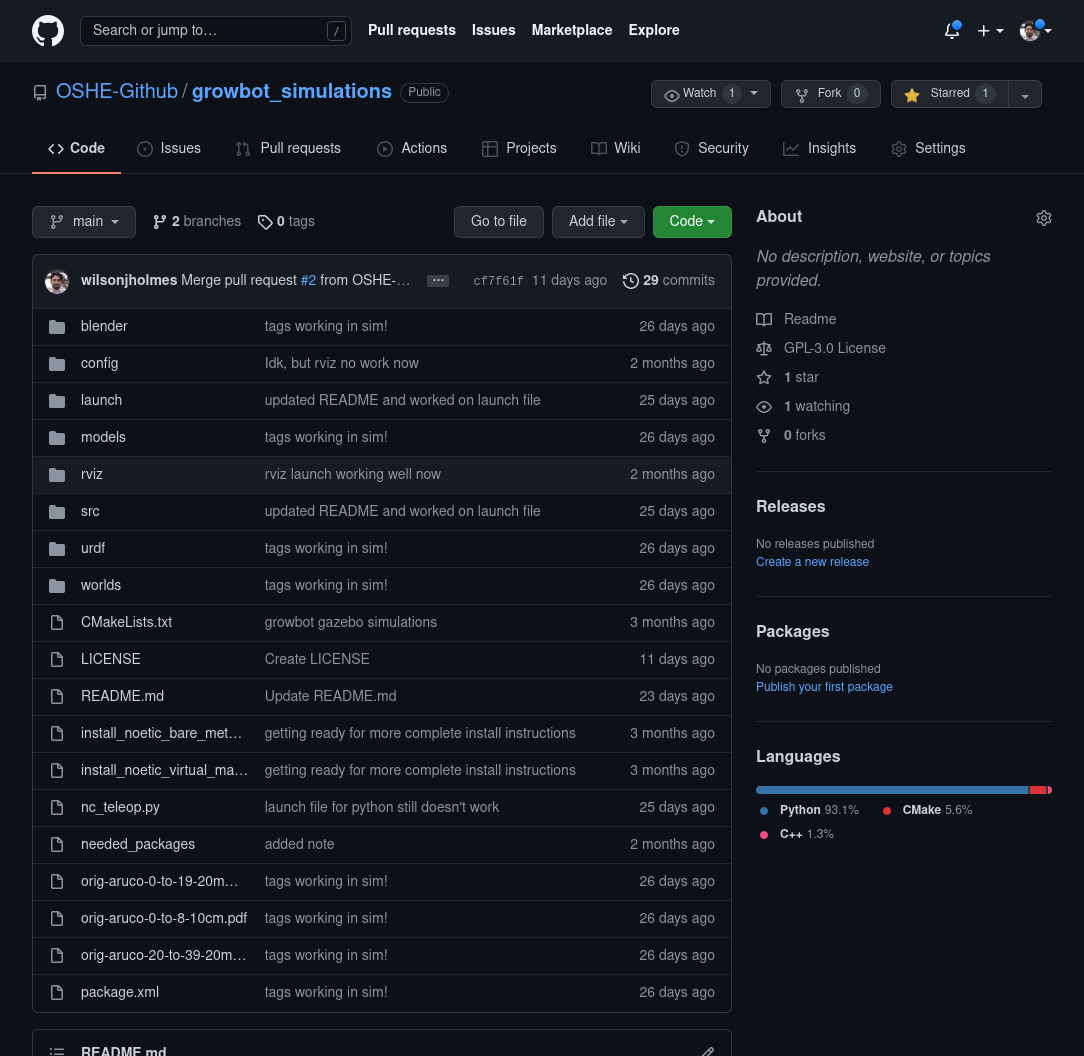
All of the source code for the GrowBot is available on GitHub and released under the GPL-V3.0 license15. If you wish to try out these simulations for yourself you can find the code at github.com/OSHE-Github/growbot_simulations. Follow the instructions in the README to get dependencies, code compiled, and environment variables sourced.
#ros #robotics #linux #bash #cli #tui #mtu #python #cpp #opencv #aruco #github #clearpath #robotis #turtlebot3 #jackal #opensource
-
ROS Wiki | Ubuntu install of ROS Noetic ↩︎
-
Pop!_OS | Welcome to Pop!_OS ↩︎
-
Ubuntu | Ubuntu Desktop ↩︎
-
OpenCV | Detection of ArUco Markers ↩︎
-
Gazebo | Robot simulation made easy. ↩︎
-
F1/10 Autonomous Racing | Build. Drive. Race! Perception. Planning. Control 1/10 the scale. 10 times the fun! ↩︎
-
Automatic Addison | Build the Future ↩︎
-
Husky UGV Tutorials | Simulating Husky ↩︎
-
ROBOTIS E-Manual | Quick start guide ↩︎
-
turtlebot3_simulations | Simulations for TurtleBot3 ↩︎
-
GitHub | Where the world builds software ↩︎
-
Wikipedia | List of 3D inertia tensors ↩︎
-
GPL-V3.0 | The GNU General Public License v3.0 - GNU Project ↩︎